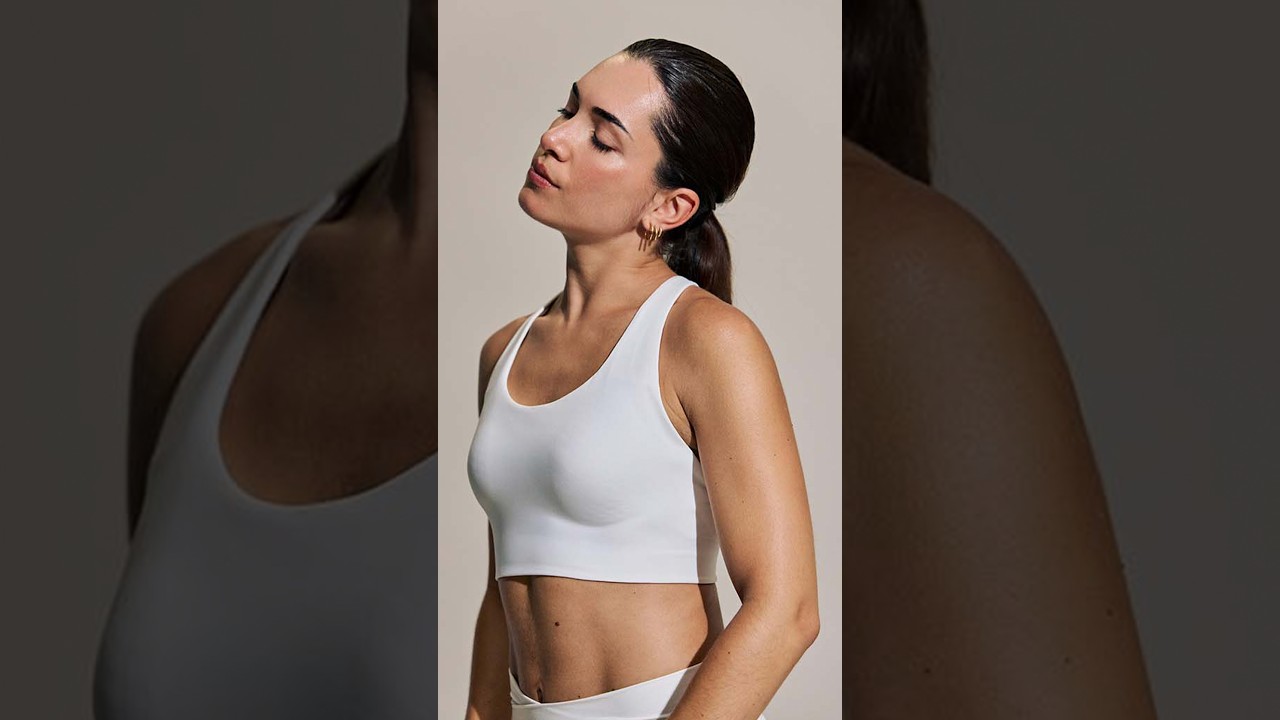
Skin retouching has always been the part of my post-production pipeline that resisted automation the most. Batch actions handle a lot for me – exposure corrections, sharpening passes, output resizing – but the moment a shot needs cleanup work on skin or clothing, I’ve always had to sit down and do it by hand. For e-commerce clients especially, that adds up. A forty-image apparel shoot with wrinkled fabric and uneven skin tones can eat two hours before I’ve even opened a delivery folder.
So when I came across this Aaron Nace (PHLEARN) tutorial on the new one-click Blemish Removal Tool built directly into Adobe Camera Raw, I paid attention. Watch the full tutorial on YouTube before or after reading this breakdown – it’s just over a minute, but the technique it covers is worth understanding in detail.
What caught me immediately is that this tool doesn’t just spot-heal and call it done. It gives you real control over the intensity of the effect, and it works on fabric as well as skin. That combination – speed plus adjustability, all inside a non-destructive ACR workflow – is the kind of thing that actually changes how I schedule my days.
Step 1: Open Your File as a Smart Object in Photoshop
 Smart object layer in Photoshop layers panel
Before you touch ACR, your setup matters. Open your image in Photoshop and convert the layer to a Smart Object. Right-click the layer in the Layers panel and choose “Convert to Smart Object.” This single step is what makes the entire workflow non-destructive. Because ACR edits are applied as a Smart Filter on a Smart Object, you can double-click that layer at any point – tomorrow, next week, after the client sends feedback – and return to every adjustment you made. Nothing is baked in.
Smart object layer in Photoshop layers panel
Before you touch ACR, your setup matters. Open your image in Photoshop and convert the layer to a Smart Object. Right-click the layer in the Layers panel and choose “Convert to Smart Object.” This single step is what makes the entire workflow non-destructive. Because ACR edits are applied as a Smart Filter on a Smart Object, you can double-click that layer at any point – tomorrow, next week, after the client sends feedback – and return to every adjustment you made. Nothing is baked in.
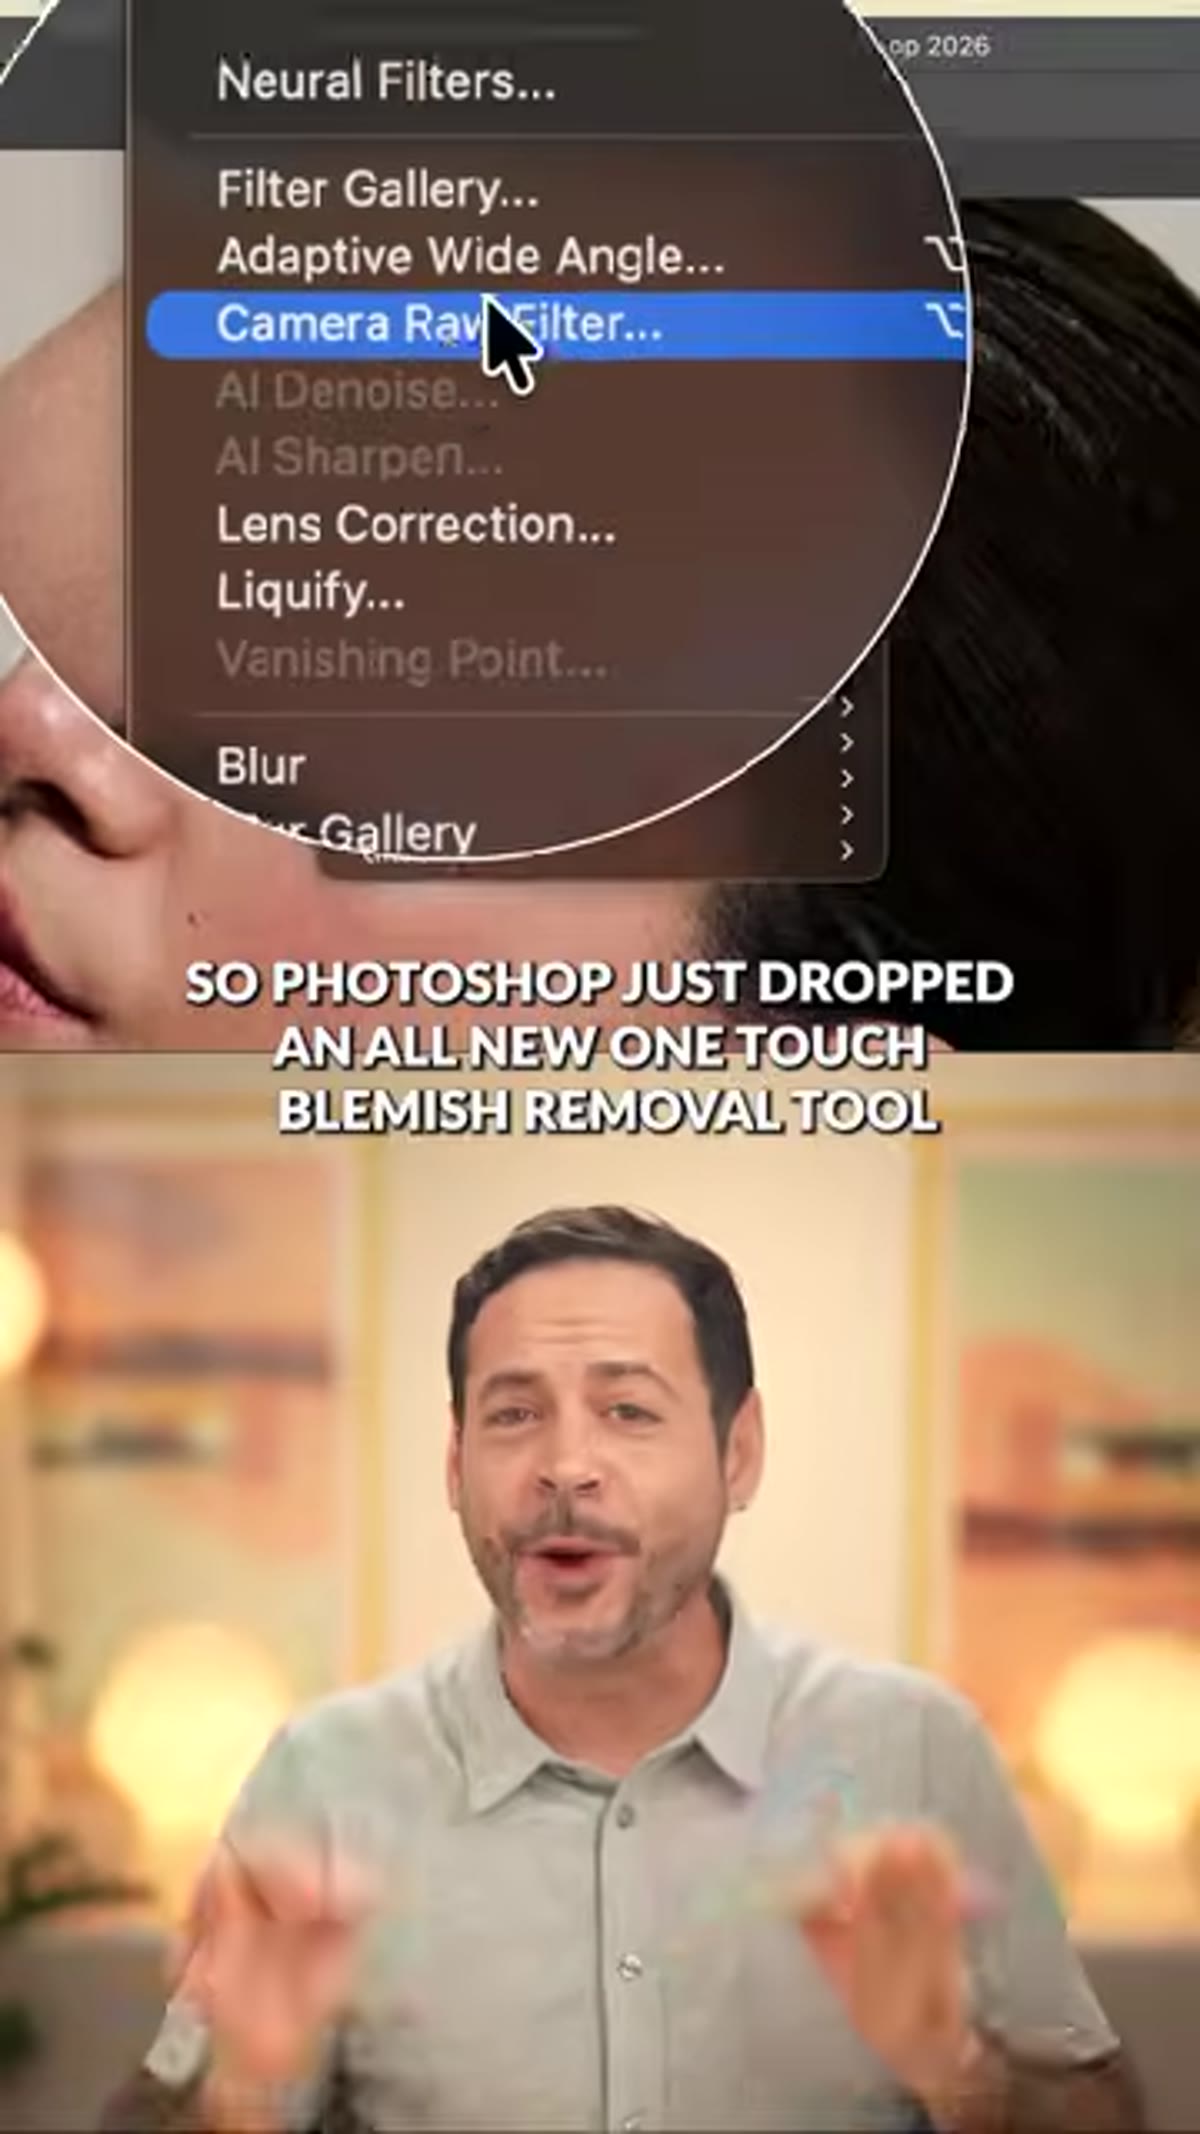
If you’re already working with a Raw file, Photoshop routes it through ACR automatically on open. For JPEGs or TIFFs, use Filter > Camera Raw Filter once your Smart Object is in place.
Step 2: Enter Adobe Camera Raw
 Adobe Camera Raw interface open with portrait image
With your Smart Object selected, go to Filter > Camera Raw Filter. This drops you into the full ACR environment without leaving Photoshop. The advantage here is access to ACR’s retouching tools alongside all the tonal and color adjustments you’d normally do at this stage anyway. You’re not bouncing between applications or duplicating layers for different purposes. The retouching panel and the exposure panel are right next to each other.
Adobe Camera Raw interface open with portrait image
With your Smart Object selected, go to Filter > Camera Raw Filter. This drops you into the full ACR environment without leaving Photoshop. The advantage here is access to ACR’s retouching tools alongside all the tonal and color adjustments you’d normally do at this stage anyway. You’re not bouncing between applications or duplicating layers for different purposes. The retouching panel and the exposure panel are right next to each other.
For portraits coming out of a shoot, I’ll often do my initial tone work – highlights, shadows, white balance – before moving into the retouching tools. It makes sense to work from broad corrections down to detail-level cleanup.
Step 3: Select the Blemish Removal Tool
 Blemish Removal Tool selected in ACR toolbar
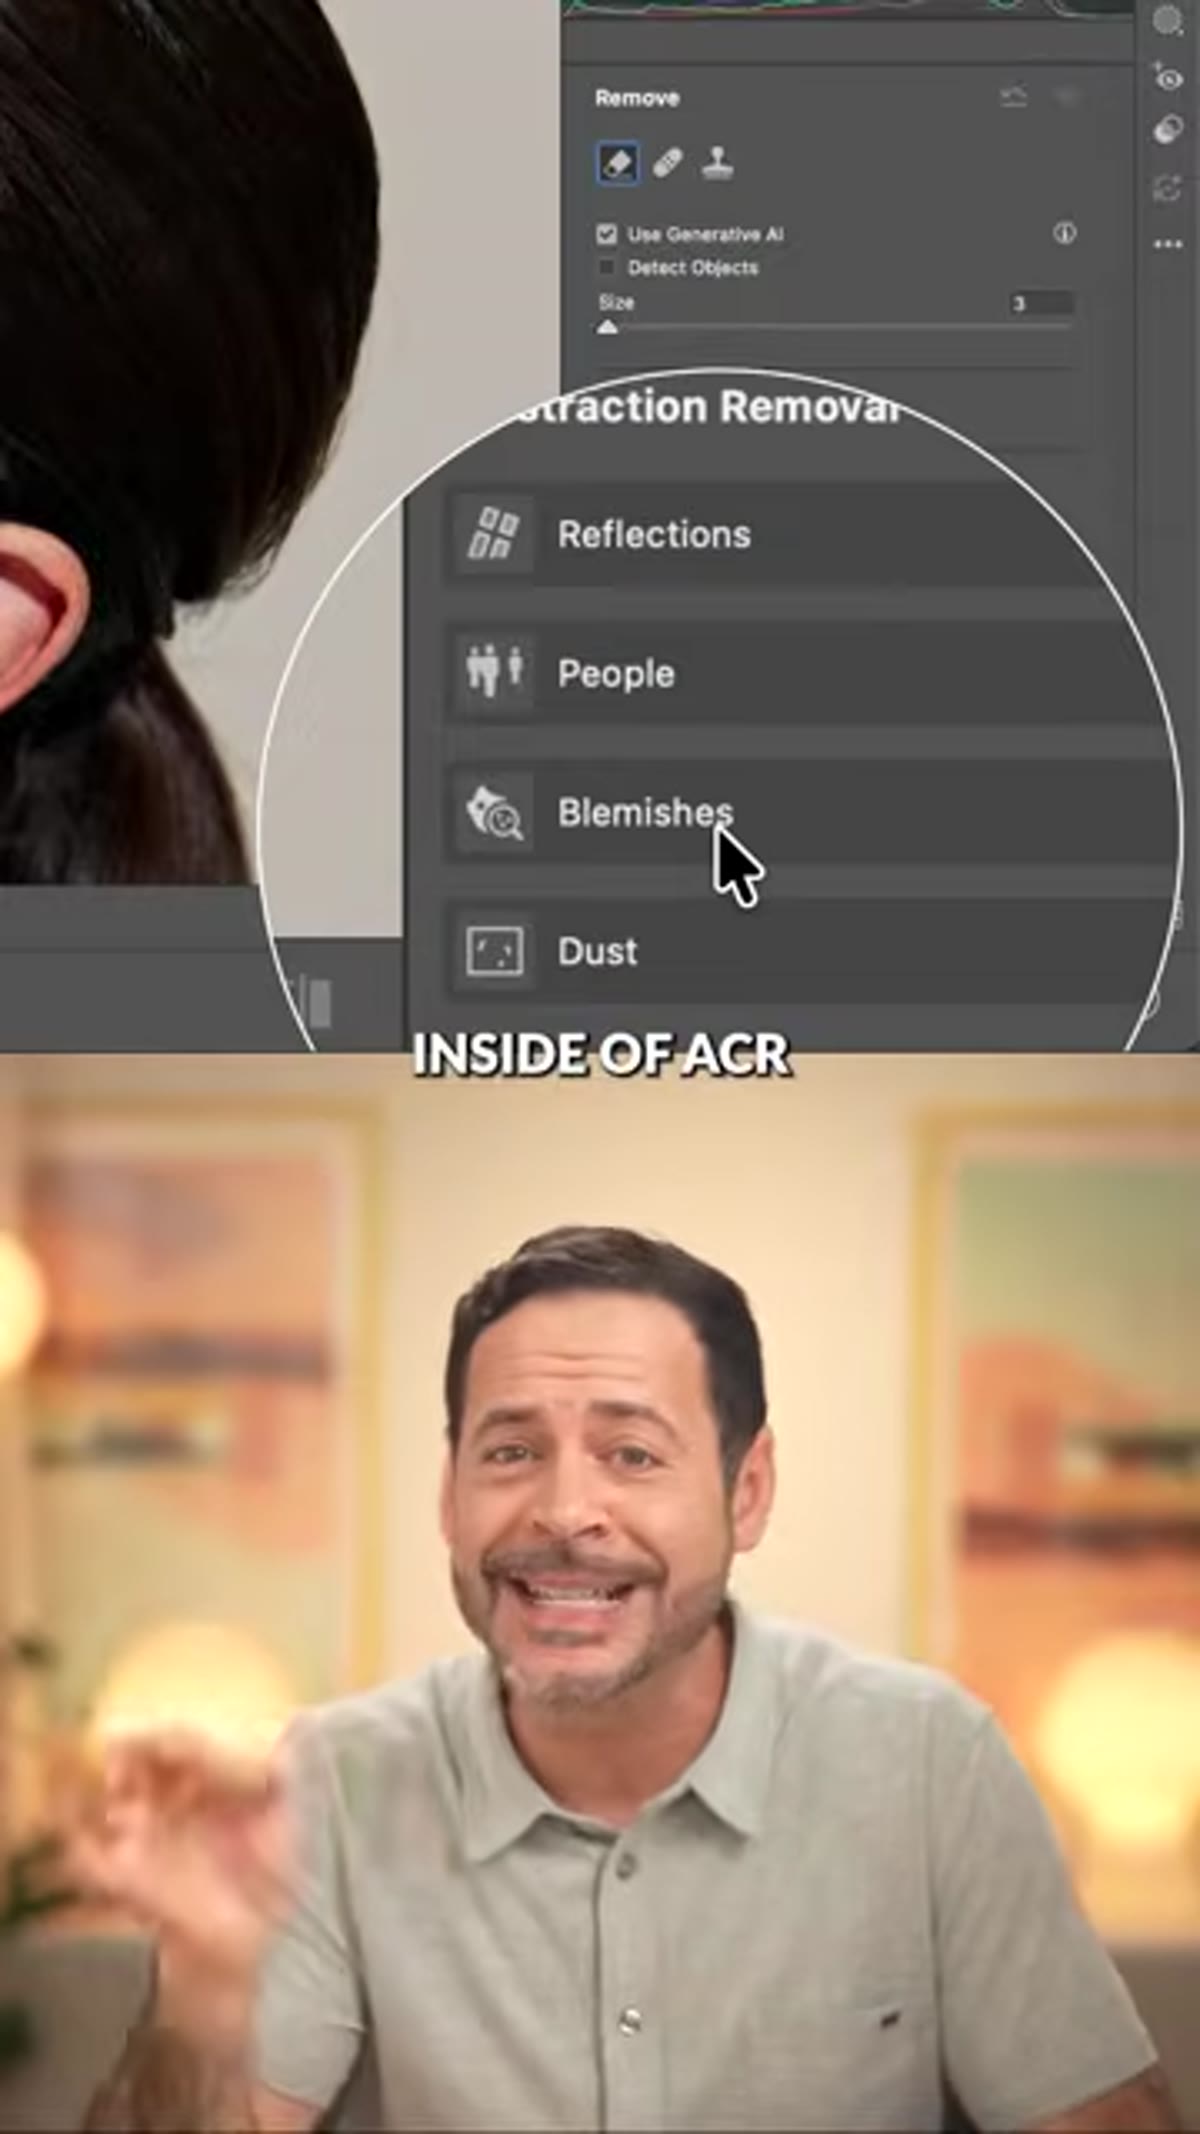
The Blemish Removal Tool lives in the ACR toolbar at the top of the interface. It looks similar to the Healing Brush icon. Click it to activate the tool and you’ll see its options appear below – this is where the real utility starts to show itself.
Blemish Removal Tool selected in ACR toolbar
The Blemish Removal Tool lives in the ACR toolbar at the top of the interface. It looks similar to the Healing Brush icon. Click it to activate the tool and you’ll see its options appear below – this is where the real utility starts to show itself.
This is a newer addition to ACR, so if you don’t see it, check that your Photoshop is updated to a recent version. Adobe has been rolling out significant updates to ACR over the past year and the blemish tool is part of that push.
Step 4: Apply the One-Click Skin Cleanup
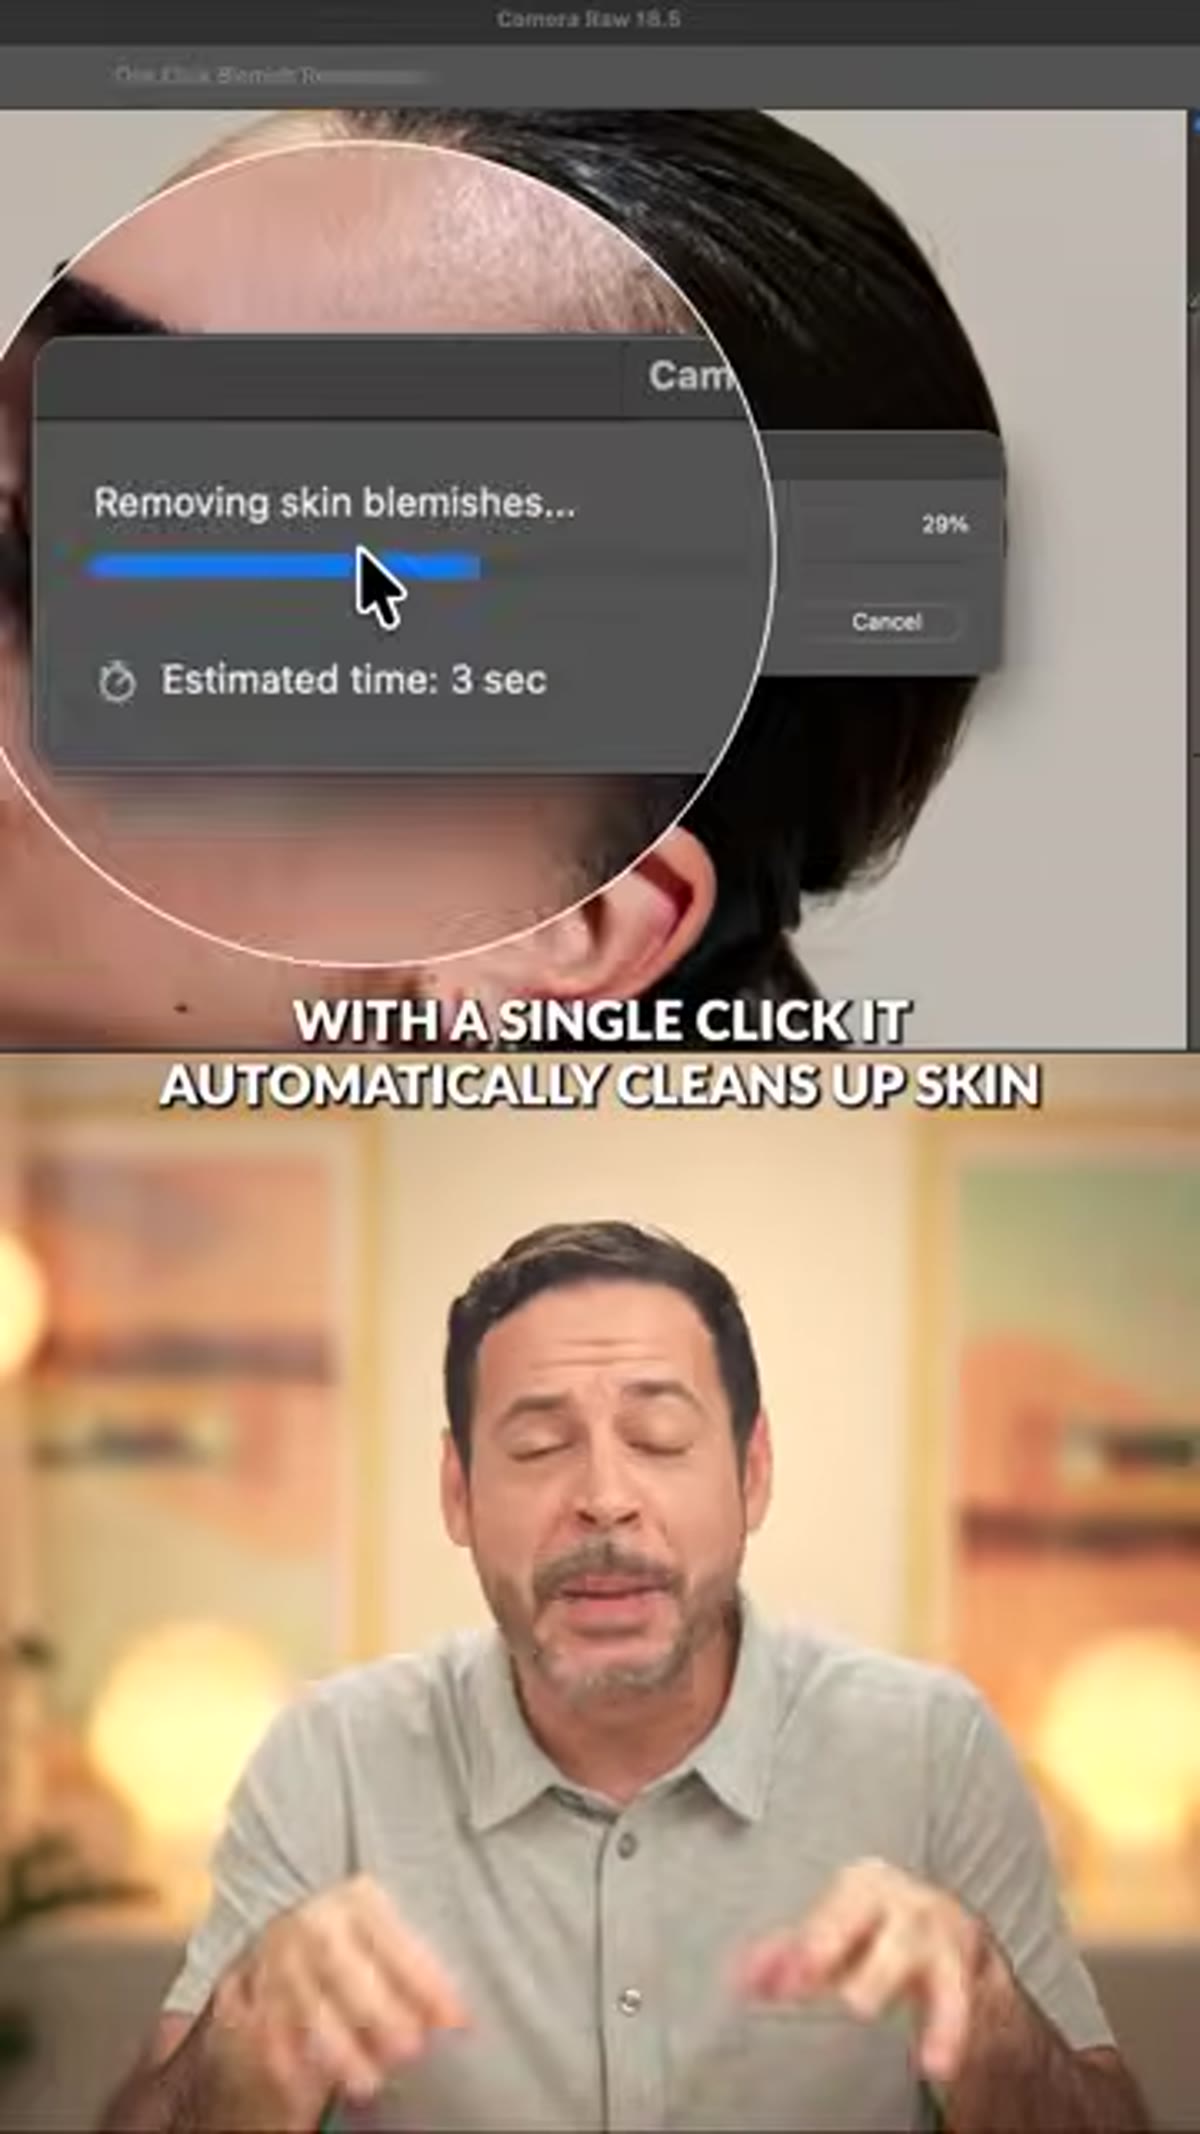 Blemish tool applied to skin, before/after visible
With the tool active, click on any area of skin you want to clean up. ACR analyzes the surrounding texture and tonal information and makes an automatic correction. For straightforward blemishes – spots, small discolorations, minor unevenness – the single-click result is often good enough to keep without adjustment.
Blemish tool applied to skin, before/after visible
With the tool active, click on any area of skin you want to clean up. ACR analyzes the surrounding texture and tonal information and makes an automatic correction. For straightforward blemishes – spots, small discolorations, minor unevenness – the single-click result is often good enough to keep without adjustment.
The key differentiator from a standard healing brush is what happens next. Rather than accepting the result and moving on, you have a slider that lets you dial back the intensity of the correction. If the auto result looks over-smoothed or plastic, pull the strength down. You’re blending the retouched version with the original underneath, which produces a much more convincing result than full-strength healing on textured skin.
Step 5: Use the Tool on Clothing Wrinkles and Fabric
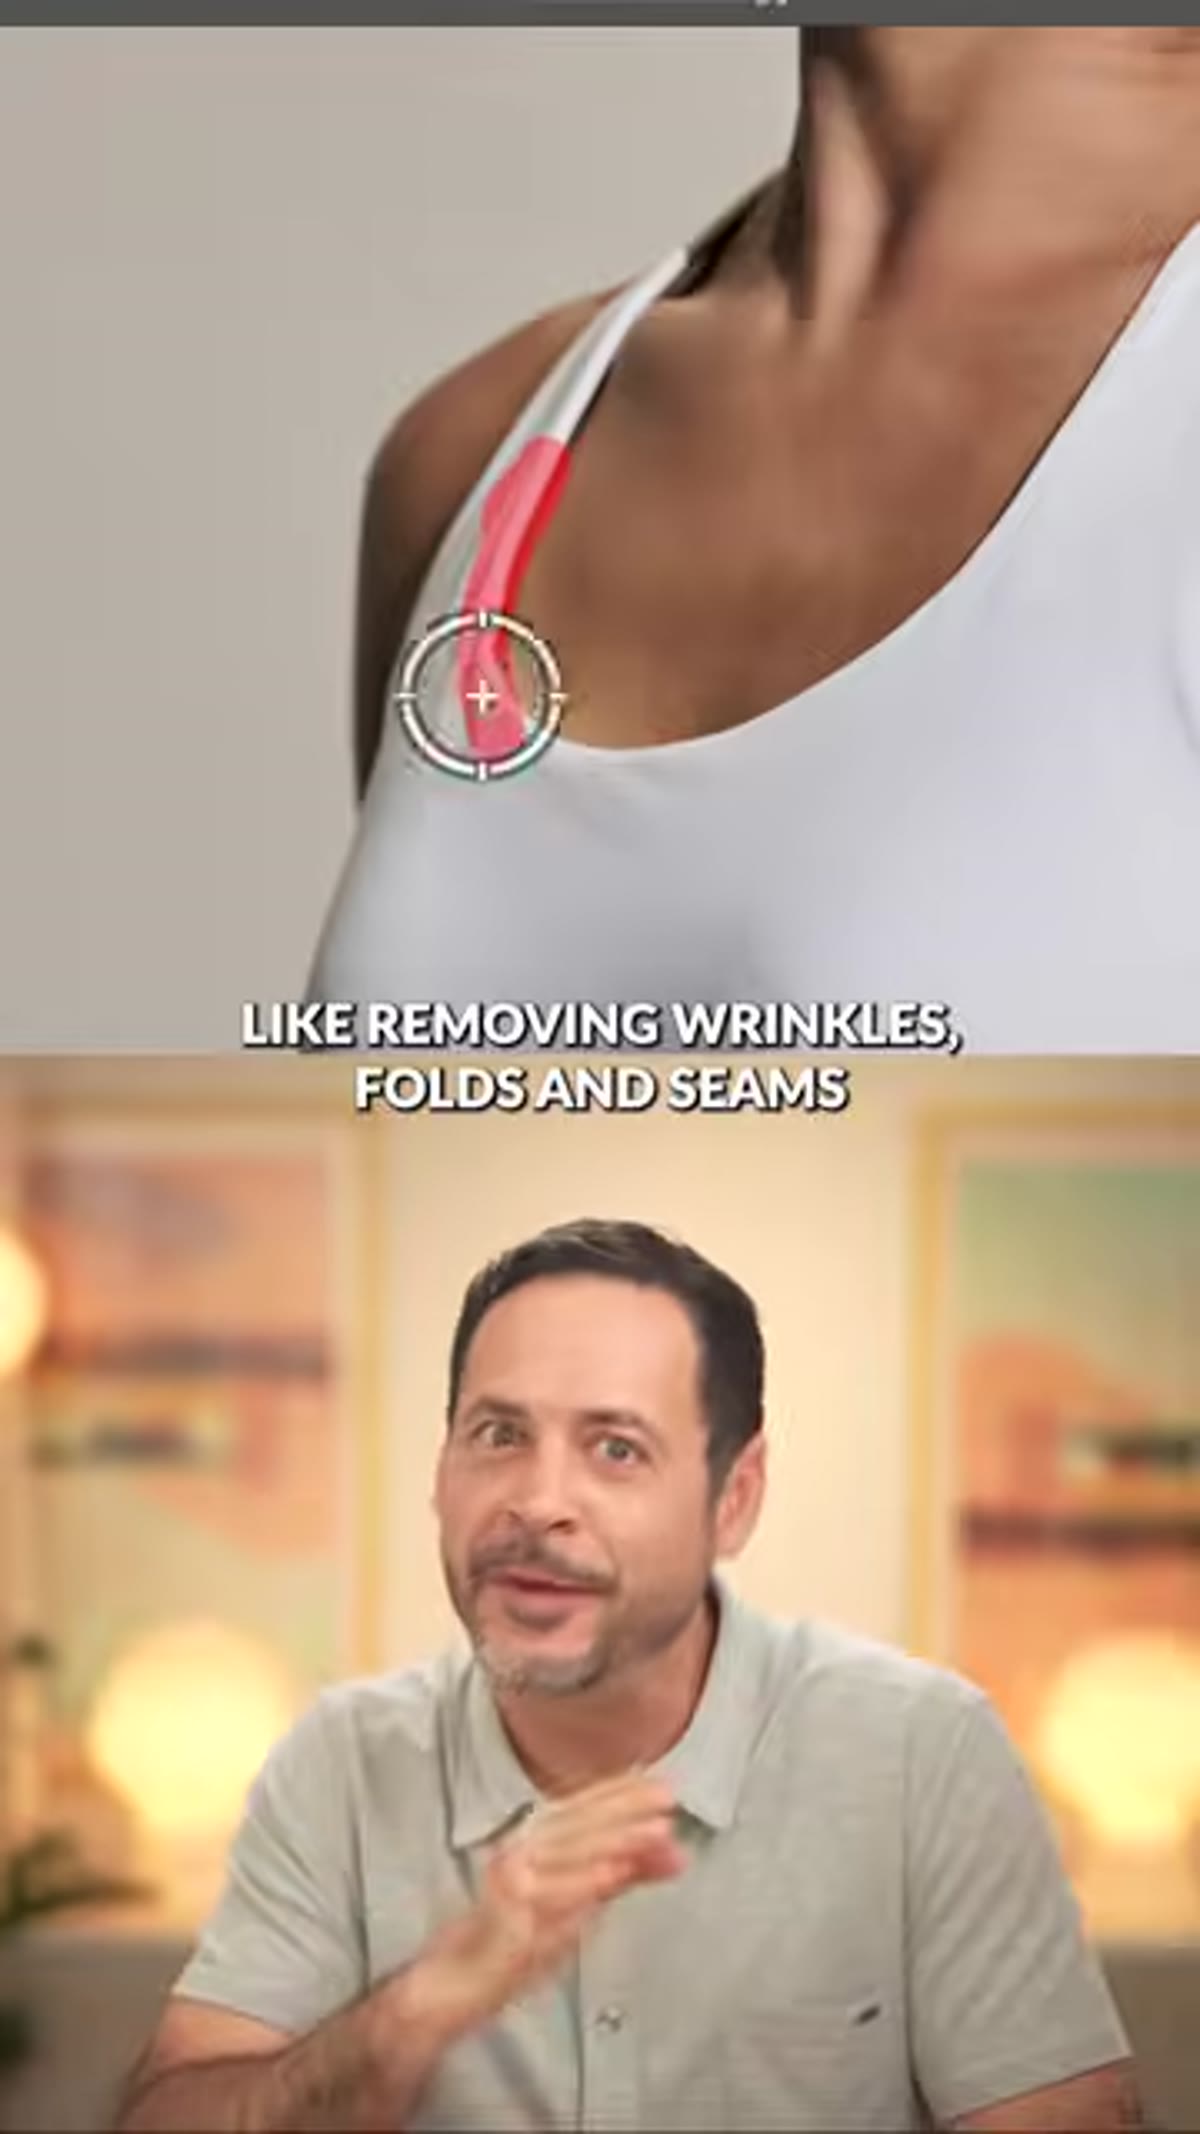 Blemish tool applied to clothing wrinkles on fabric
This is the part of the tutorial that genuinely surprised me. The same tool, in the same panel, handles fabric retouching – wrinkles, seams, creases. For e-commerce apparel work, this matters a lot. A shirt with a fold across the shoulder or a crease down the front of trousers can make an otherwise clean product shot look sloppy.
Blemish tool applied to clothing wrinkles on fabric
This is the part of the tutorial that genuinely surprised me. The same tool, in the same panel, handles fabric retouching – wrinkles, seams, creases. For e-commerce apparel work, this matters a lot. A shirt with a fold across the shoulder or a crease down the front of trousers can make an otherwise clean product shot look sloppy.
Apply the tool to the wrinkled area just as you would to skin. ACR reads the fabric’s color and weave and fills in the problem area with matched texture. Combined with the strength slider, you can smooth the wrinkle significantly without losing the fabric’s natural character. I wouldn’t say it replaces a properly steamed garment, but for minor fabric issues it saves real time in post.
Step 6: Adjust Strength and Refine Your Corrections
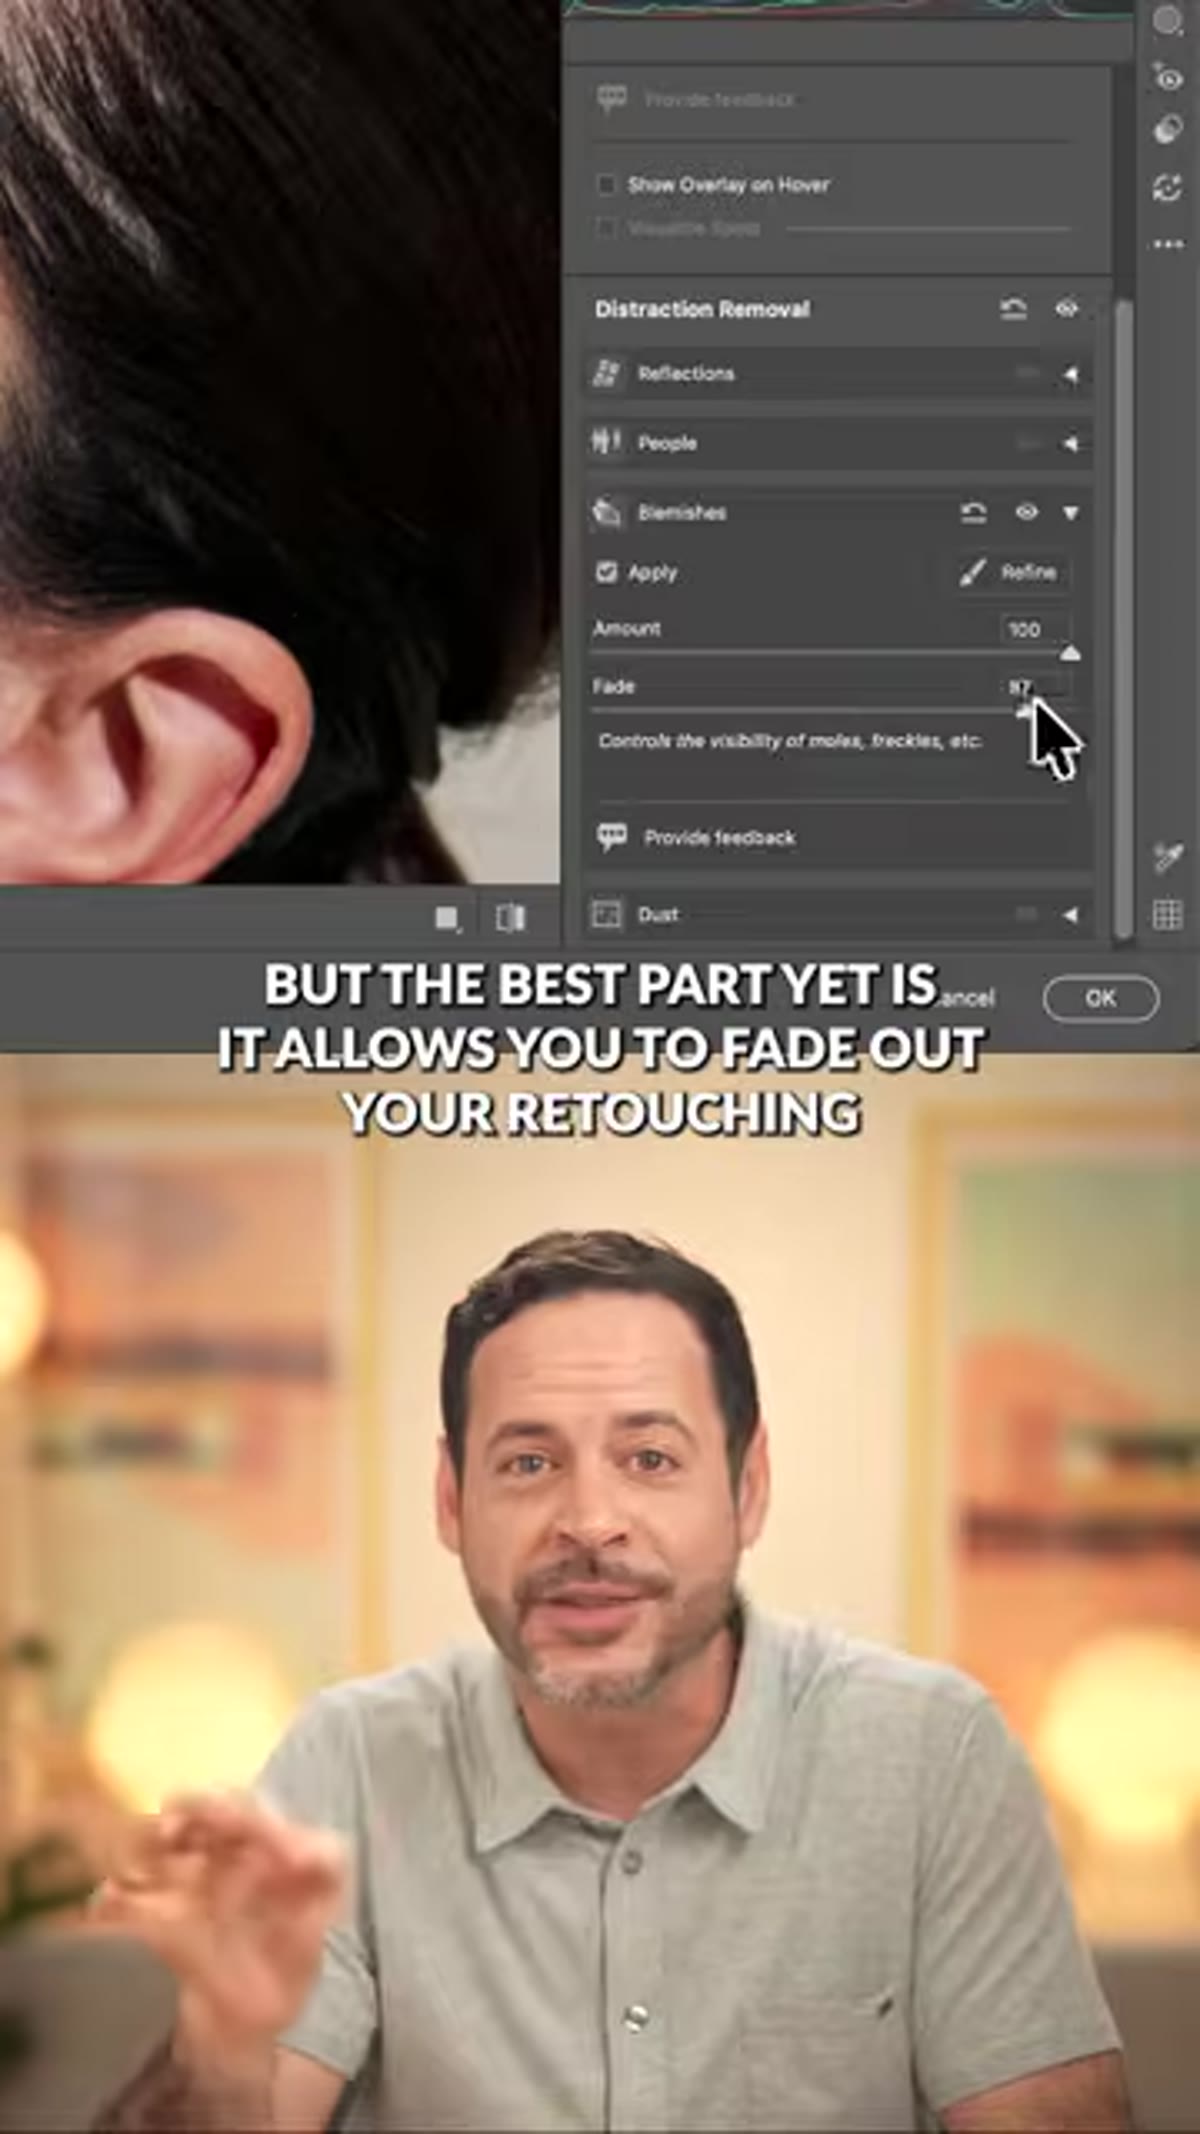 Strength slider being adjusted for natural result
After placing each correction, use the strength or amount slider in the tool options to fine-tune how aggressive the effect reads. Click between individual correction points to adjust them independently – each one carries its own settings. This means a patch on the forehead can be at 60% intensity while a blemish near a high-contrast edge stays at 40% to avoid artifacts.
Strength slider being adjusted for natural result
After placing each correction, use the strength or amount slider in the tool options to fine-tune how aggressive the effect reads. Click between individual correction points to adjust them independently – each one carries its own settings. This means a patch on the forehead can be at 60% intensity while a blemish near a high-contrast edge stays at 40% to avoid artifacts.
When you’re satisfied, click Done or OK to commit the ACR session. The edits write back to the Smart Filter on your Smart Object layer, and your full correction history stays accessible through that layer.
What I’d Add From My Own Experience
The non-destructive angle here is the piece I keep coming back to. I built my first Photoshop action at 26 and I’ve been skeptical of any retouching workflow that flattens decisions too early. What Nace is describing in this tutorial is a system where you never permanently commit to a specific level of blemish correction – you can always go back and reduce the effect if a client wants a less retouched look, or push it further if they need a cleaner result.
For anyone running batch workflows on portrait or apparel jobs, I’d also suggest testing whether this plays nicely with recorded actions. The Camera Raw Filter can be included in an action, though the blemish tool’s individual click points are position-dependent and won’t generalize across different images. What you can automate is the act of opening ACR at the right stage of your workflow – the manual work still happens inside ACR, but you’re already in the right environment with the right settings ready.
One caveat: evaluate your results at 100% zoom before signing off. The tool is good, but it can occasionally produce a slightly blurred patch on high-frequency skin texture. A quick check at full zoom catches anything that needs a manual fix before delivery.
The single most important thing this tutorial demonstrates is that Adobe Camera Raw has grown into a serious retouching environment, not just a raw developer. Keeping skin correction, fabric cleanup, and tonal work inside one non-destructive interface – without ever flattening – is a workflow upgrade worth adopting.
Watch the full tutorial on YouTube to see Aaron walk through the tool in real time, and check out the full-length episode at phlearn.com if you want the extended breakdown with sample files.
Comments (7)
Applied this to my portfolio shots and the improvement is noticeable.
This is going in my reference folder. Incredibly useful.
This is fantastic. I've been recommending this approach to my readers too.
This is exactly what I needed today. Been struggling with this for weeks.
This should be required reading for anyone starting out.
Shared this with my photography group. Everyone loved it.
Simple but effective. Sometimes that's all you need.
Leave a Comment