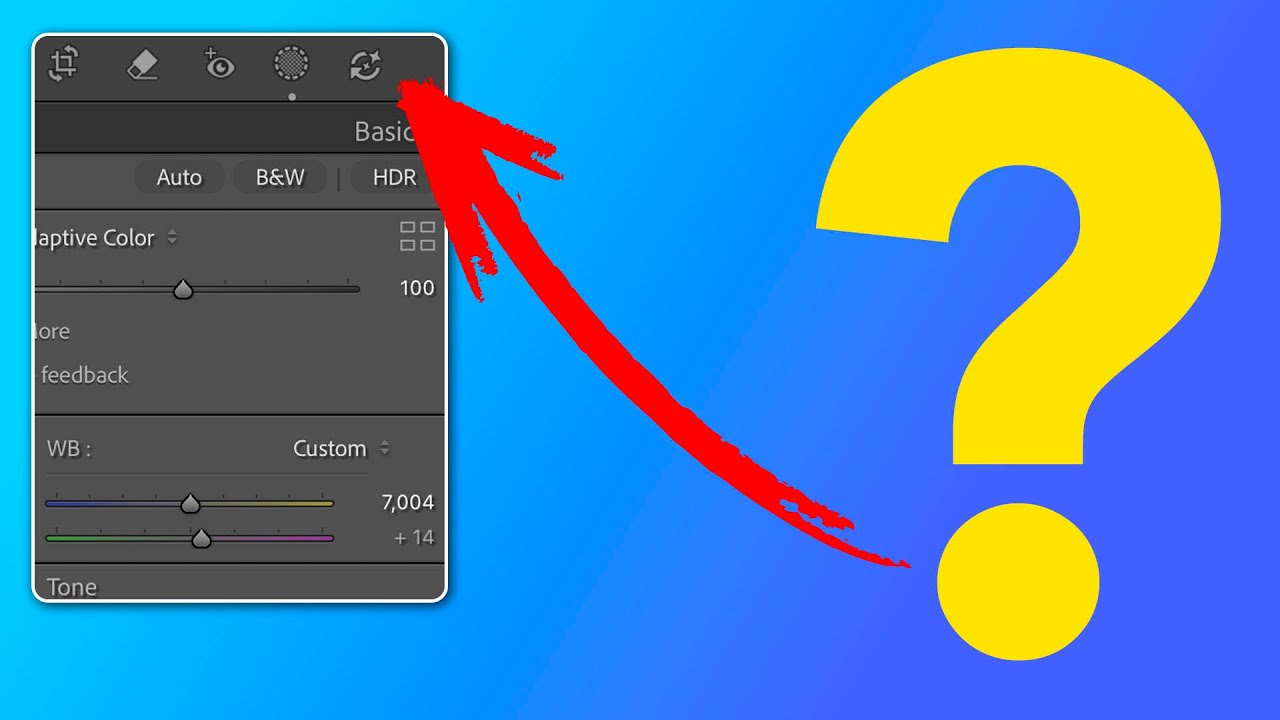
Order matters. I learned that the hard way running a commercial studio where consistency across hundreds of images isn’t a preference, it’s a contract requirement. When Adobe quietly added a new AI edit status icon to the Lightroom Classic toolbar, my first reaction was the same one I have whenever Adobe ships something new: is this going to break my existing workflow, or make it better? In this Matt Kloskowski tutorial, Watch the full tutorial on YouTube, Matt does something I appreciate in a good instructor: he doesn’t just explain the feature, he tells you when to ignore the rules it suggests.
What struck me most watching this is that the icon isn’t new behavior from Lightroom. The underlying logic has existed in the software for a while. Adobe just made it visible. For anyone running preset-based or action-assisted workflows where AI tools like lens blur and content-aware removal are increasingly part of the pipeline, understanding what this icon is flagging can save you from subtle quality issues that are easy to miss until a client points them out on a 4K monitor.
Here’s the full breakdown of what the tutorial covers, with enough detail that you can follow along in your own develop module without needing to pause and rewind.
Step 1: Locate the AI Edit Status Icon in the Develop Module
 AI edit status icon shown grayed out in toolbar
The icon lives in the upper-right corner of the Develop module in Lightroom Classic. It also appears in Lightroom (the cloud version) and Camera Raw, so the behavior is consistent across all three Adobe RAW editors. Right now, if you’ve never noticed it, go open any photo you’ve edited with only basic panel adjustments: exposure, highlights, shadows, white balance, that kind of thing. The icon will appear grayed out, and that’s completely normal. Gray means none of your edits involve tools that trigger the AI edit order logic. Nothing to act on, nothing to worry about.
AI edit status icon shown grayed out in toolbar
The icon lives in the upper-right corner of the Develop module in Lightroom Classic. It also appears in Lightroom (the cloud version) and Camera Raw, so the behavior is consistent across all three Adobe RAW editors. Right now, if you’ve never noticed it, go open any photo you’ve edited with only basic panel adjustments: exposure, highlights, shadows, white balance, that kind of thing. The icon will appear grayed out, and that’s completely normal. Gray means none of your edits involve tools that trigger the AI edit order logic. Nothing to act on, nothing to worry about.
Step 2: Make a Basic-Panel-Only Edit to Understand the Baseline
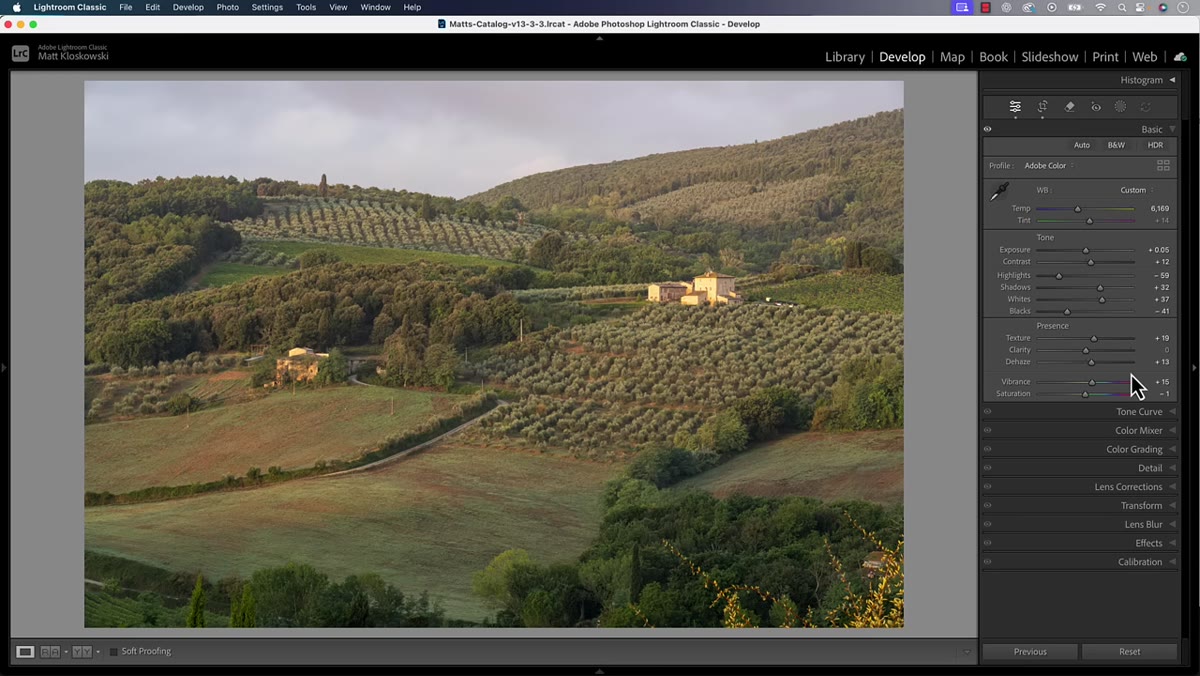
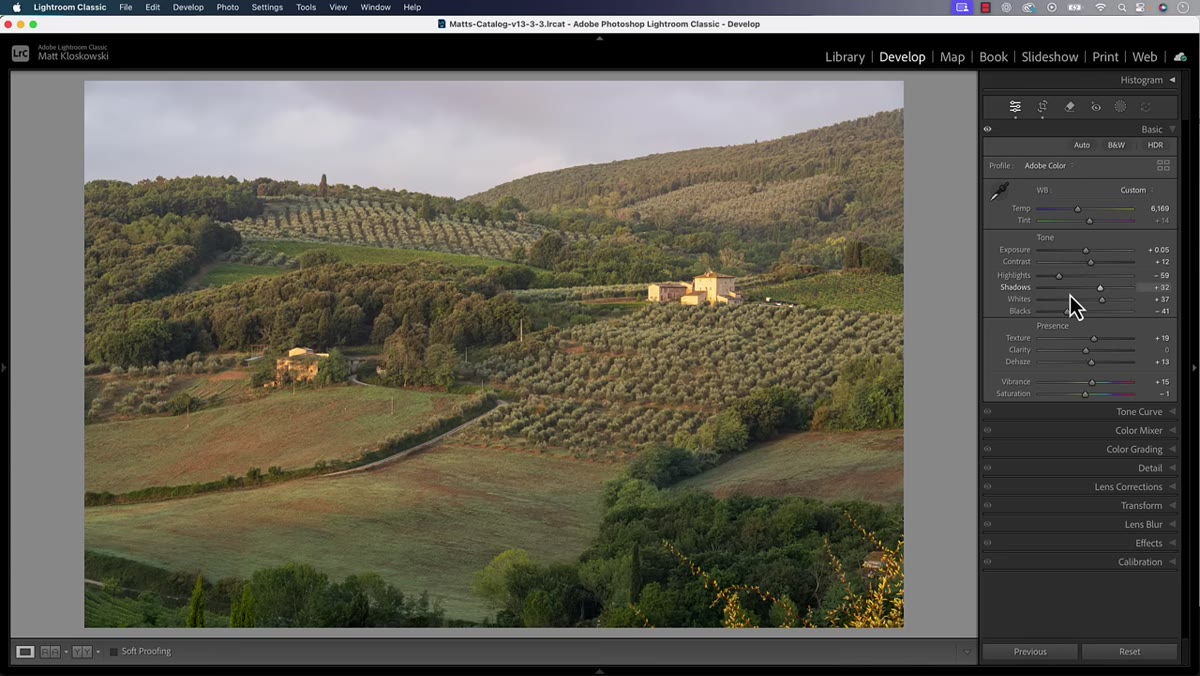 Basic panel adjustments shown, icon remains grayed out
Before you can understand when the icon matters, you need to see what it looks like when it doesn’t matter. Open a RAW file and work exclusively in the Basic panel: push exposure, pull highlights, adjust the white balance, add some clarity. These tonal and color adjustments are what most of us spend the majority of our edit time on, and they have zero interaction with the AI status logic. The icon stays gray the entire time. This is your baseline. These edits are order-agnostic, meaning you can move sliders in any sequence and the icon won’t react.
Basic panel adjustments shown, icon remains grayed out
Before you can understand when the icon matters, you need to see what it looks like when it doesn’t matter. Open a RAW file and work exclusively in the Basic panel: push exposure, pull highlights, adjust the white balance, add some clarity. These tonal and color adjustments are what most of us spend the majority of our edit time on, and they have zero interaction with the AI status logic. The icon stays gray the entire time. This is your baseline. These edits are order-agnostic, meaning you can move sliders in any sequence and the icon won’t react.
Step 3: Apply an AI-Powered Tool and Watch the Icon Respond
 Remove tool used, icon becomes active but neutral
Now use one of Lightroom’s AI-driven tools. The Remove tool (which includes the healing brush and generative AI removal options) is the most common trigger. Matt demonstrates by removing some utility poles from a landscape shot. Once you close the Remove tool and return to the main Develop panel, the icon changes state: it’s no longer grayed out, but it also isn’t showing a warning color. It’s a light, neutral white-gray. That state means you’ve used an AI tool, and Lightroom is now tracking edit order, but everything is sequenced correctly. No action needed.
Remove tool used, icon becomes active but neutral
Now use one of Lightroom’s AI-driven tools. The Remove tool (which includes the healing brush and generative AI removal options) is the most common trigger. Matt demonstrates by removing some utility poles from a landscape shot. Once you close the Remove tool and return to the main Develop panel, the icon changes state: it’s no longer grayed out, but it also isn’t showing a warning color. It’s a light, neutral white-gray. That state means you’ve used an AI tool, and Lightroom is now tracking edit order, but everything is sequenced correctly. No action needed.
Step 4: Trigger the Warning by Editing Out of the Suggested Order
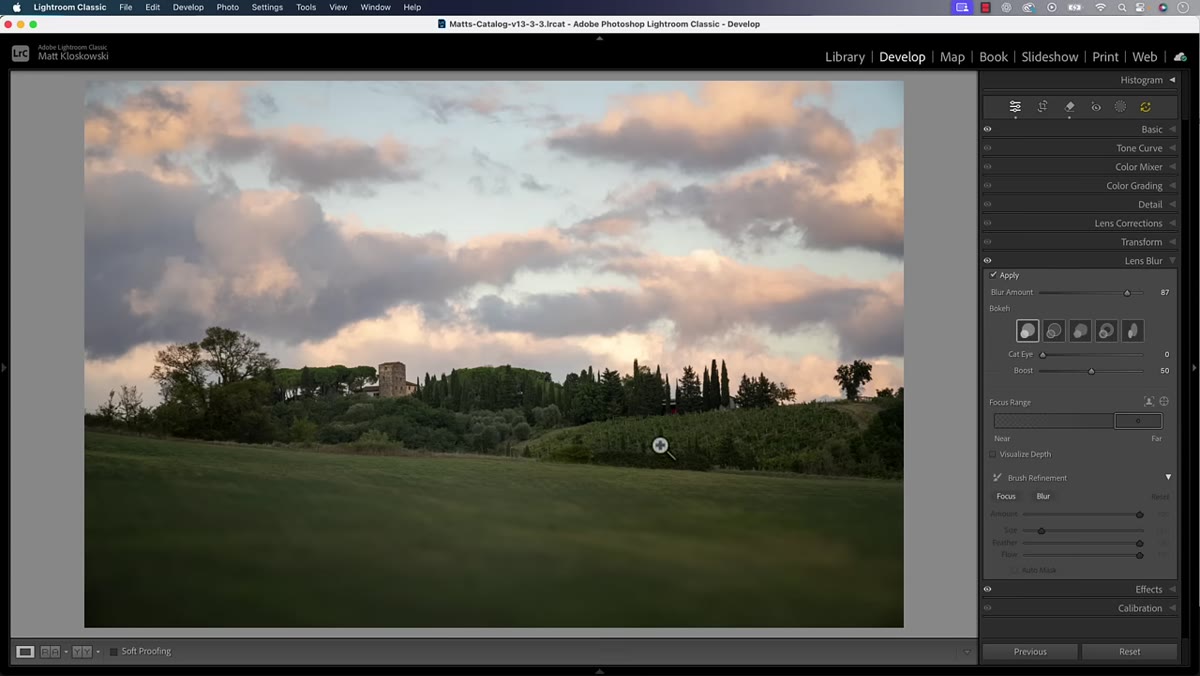 Lens blur applied before Remove tool, icon turns yellow-orange
This is where it gets instructive. Matt shows what happens when you apply Lens Blur first, then go back and run the Remove tool afterward. That sequence puts an AI-dependent tool after a separate AI-generated result, which creates a conflict in how Lightroom processes the final output. The icon turns a yellow-orange color. That warm warning color is the only state where you actually need to pay attention. It signals that the order of your AI edits could be affecting the quality or accuracy of the rendered result. It’s not catastrophic, but it’s a flag worth understanding so you can decide whether to reorder your edits.
Lens blur applied before Remove tool, icon turns yellow-orange
This is where it gets instructive. Matt shows what happens when you apply Lens Blur first, then go back and run the Remove tool afterward. That sequence puts an AI-dependent tool after a separate AI-generated result, which creates a conflict in how Lightroom processes the final output. The icon turns a yellow-orange color. That warm warning color is the only state where you actually need to pay attention. It signals that the order of your AI edits could be affecting the quality or accuracy of the rendered result. It’s not catastrophic, but it’s a flag worth understanding so you can decide whether to reorder your edits.
Step 5: Decide Whether to Reorder or Ignore Based on Your Output
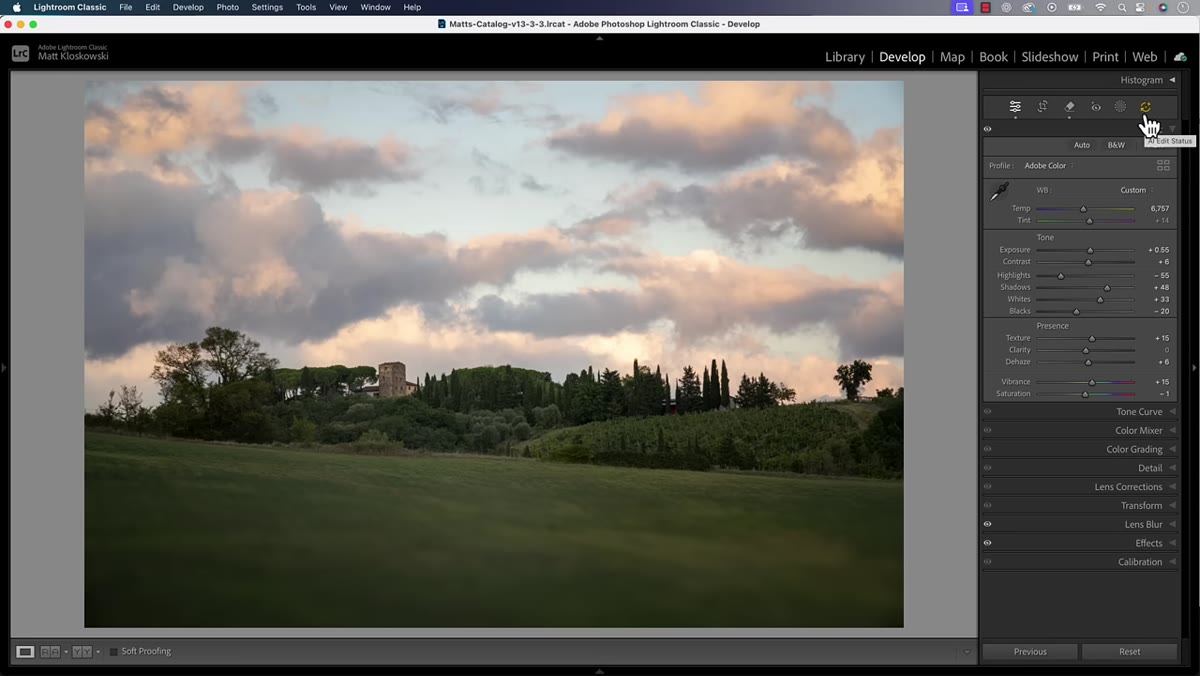 Yellow-orange icon on edited photo with blur and removal applied
Here’s where Matt gives practical advice that I think gets glossed over in most feature-explainer videos: the warning doesn’t always mean you did something wrong. Depending on what you’re editing and what the output is for, you might look at the result, decide it looks fine, and move on. The icon is informational, not a hard stop. For high-stakes commercial work where the Remove tool is cleaning up sensor dust or product imperfections, I’d pay attention to it. For a personal landscape with a subtle blur effect, use your eyes. If the output looks right, it probably is right.
Yellow-orange icon on edited photo with blur and removal applied
Here’s where Matt gives practical advice that I think gets glossed over in most feature-explainer videos: the warning doesn’t always mean you did something wrong. Depending on what you’re editing and what the output is for, you might look at the result, decide it looks fine, and move on. The icon is informational, not a hard stop. For high-stakes commercial work where the Remove tool is cleaning up sensor dust or product imperfections, I’d pay attention to it. For a personal landscape with a subtle blur effect, use your eyes. If the output looks right, it probably is right.
Step 6: Know Which Tools Are Inside the AI Edit Order System
 Develop module toolbar with AI tools referenced
Not every tool in Lightroom’s toolkit interacts with this system. The Basic panel sliders don’t. The tone curve doesn’t. HSL doesn’t. The tools that matter here are the AI-powered ones: the Remove tool (including generative fill options), Lens Blur, and any tool Lightroom is processing through its AI pipeline rather than its traditional parametric adjustments. Matt mentions that something like a post-crop vignette doesn’t factor in. Knowing which tools are inside and outside this system helps you make intentional decisions about sequencing instead of reacting to a warning after the fact.
Develop module toolbar with AI tools referenced
Not every tool in Lightroom’s toolkit interacts with this system. The Basic panel sliders don’t. The tone curve doesn’t. HSL doesn’t. The tools that matter here are the AI-powered ones: the Remove tool (including generative fill options), Lens Blur, and any tool Lightroom is processing through its AI pipeline rather than its traditional parametric adjustments. Matt mentions that something like a post-crop vignette doesn’t factor in. Knowing which tools are inside and outside this system helps you make intentional decisions about sequencing instead of reacting to a warning after the fact.
How This Changes My Preset and Batch Workflow
I’ll be direct: this icon has made me rethink where I place AI-tool steps in my batch processing sequences. For e-commerce work where I’m running the same foundational preset across hundreds of images and then doing selective cleanup passes afterward, the sequence I’d developed organically over the years happened to be roughly correct. But I wasn’t thinking about it consciously. Now I am.
My standing rule going forward is simple: run all basic panel and parametric adjustments first. Apply presets, tone adjustments, color grades, anything that touches traditional sliders. Then, as a second pass, go in with AI tools like Remove and Lens Blur. This keeps the edit order clean and means I won’t see that yellow-orange icon unless I’ve deliberately broken the sequence for a reason. If you’re building Lightroom presets or action sequences for other photographers to use, this is worth documenting in your instructions. The icon will tell users when they’ve applied things in the wrong order, but only if they know what it means.
The single most important thing to take from this tutorial is that the icon isn’t a bug report, it’s a sequencing guide. Lightroom is telling you which direction its AI processing logic flows, and when you edit with that flow instead of against it, you get cleaner results with less second-guessing. Most photographers will never see the yellow-orange warning if they follow a simple rule: do your tonal and color work first, then apply AI tools last.
Watch the full tutorial on YouTube to see Matt walk through the icon states on actual photos, including his take on when breaking the suggested order still makes sense.
Comments (3)
Wow, I had no idea you could do this. Mind blown.
This is going in my reference folder. Incredibly useful.
Great article! I actually covered something related on my site — the landscape angle is really complementary to this.
Leave a Comment