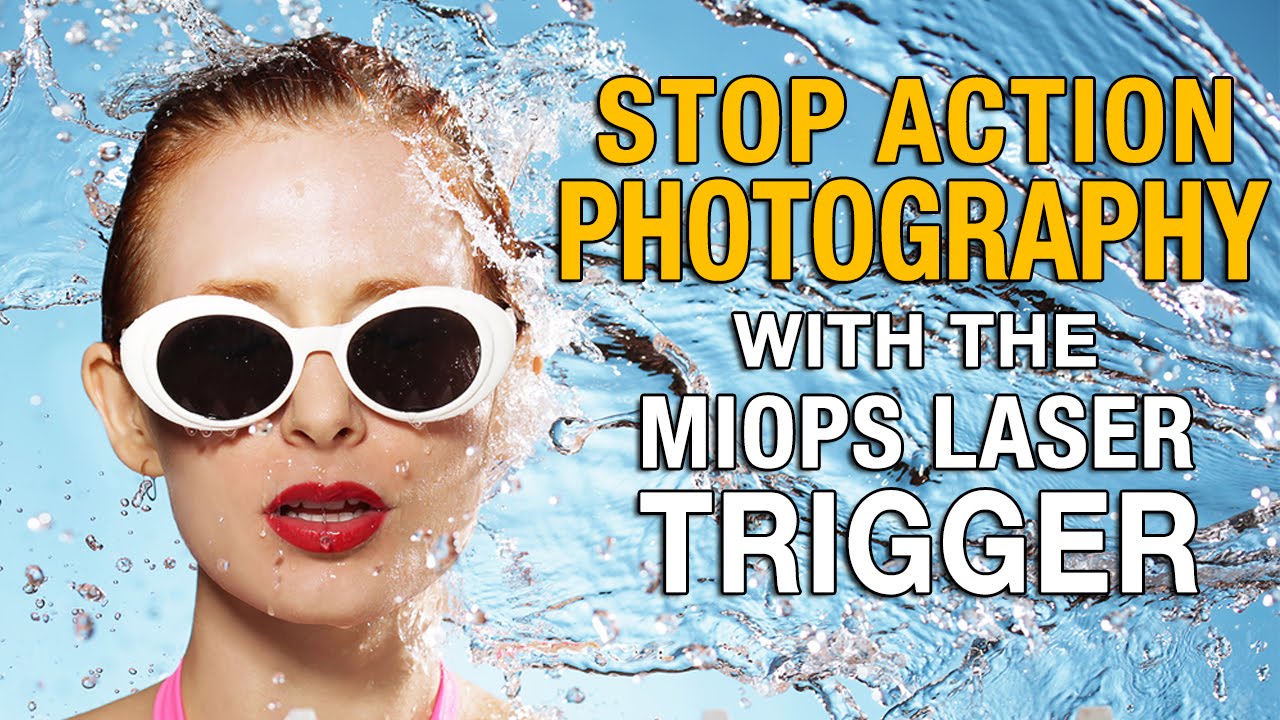
There’s a category of shot that looks effortless in a final ad but is genuinely punishing to capture without the right system: anything involving fast-moving liquid hitting a subject. I’ve watched assistants on commercial sets spend entire afternoons throwing water, firing the camera on continuous burst, and hoping something usable landed in the pile. Most of the time, maybe two or three frames out of hundreds are worth keeping, and even then the timing is pure luck. That’s not a workflow - that’s a lottery.
In this The Slanted Lens tutorial, photographer JP Morgan demonstrates a method that trades luck for control using the MIOPS smart trigger in laser mode. The approach turns a simple laser pointer into a physical tripwire, so the camera fires at a precise, repeatable moment rather than whenever someone happens to press the shutter. Watch the full tutorial on YouTube - but read through this first so you understand why each decision was made before you’re standing there with a bucket of water.
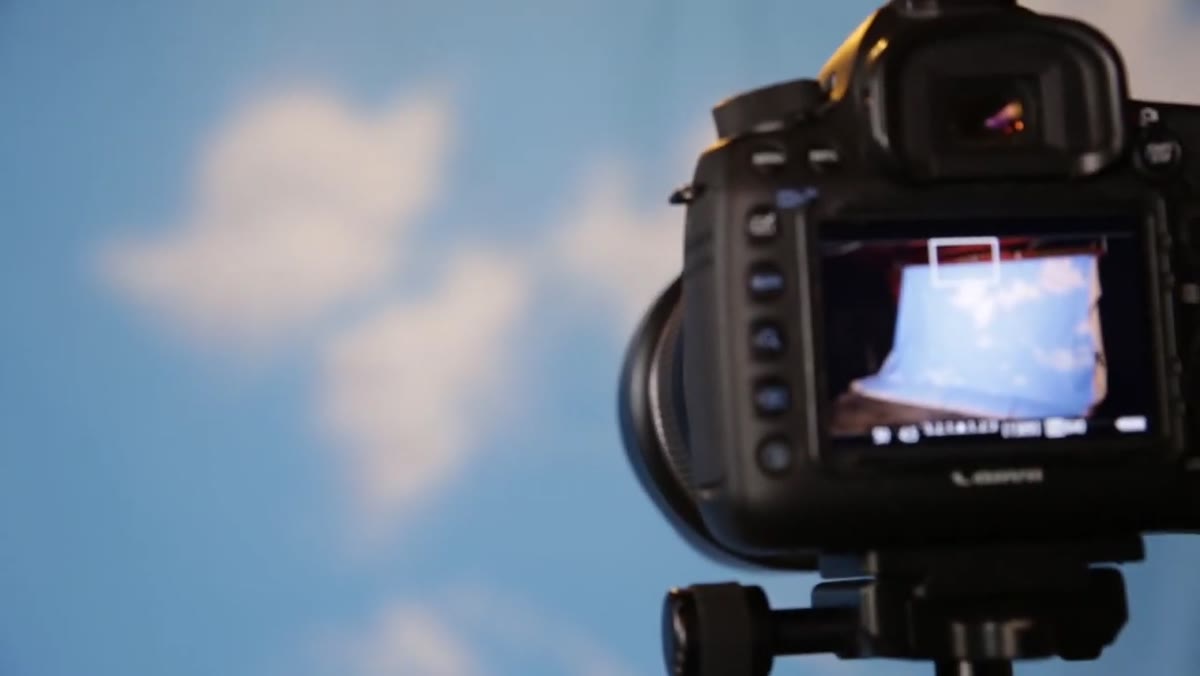
What makes this method genuinely useful for commercial work isn’t just the trigger itself. It’s the delay control. Once you understand how incrementally adjusting a millisecond delay lets you move the explosion point of the water across the frame, you stop guessing and start directing. That precision is what separates a technically interesting image from a publishable one.
Step 1: Build Your Set for Containment and Context
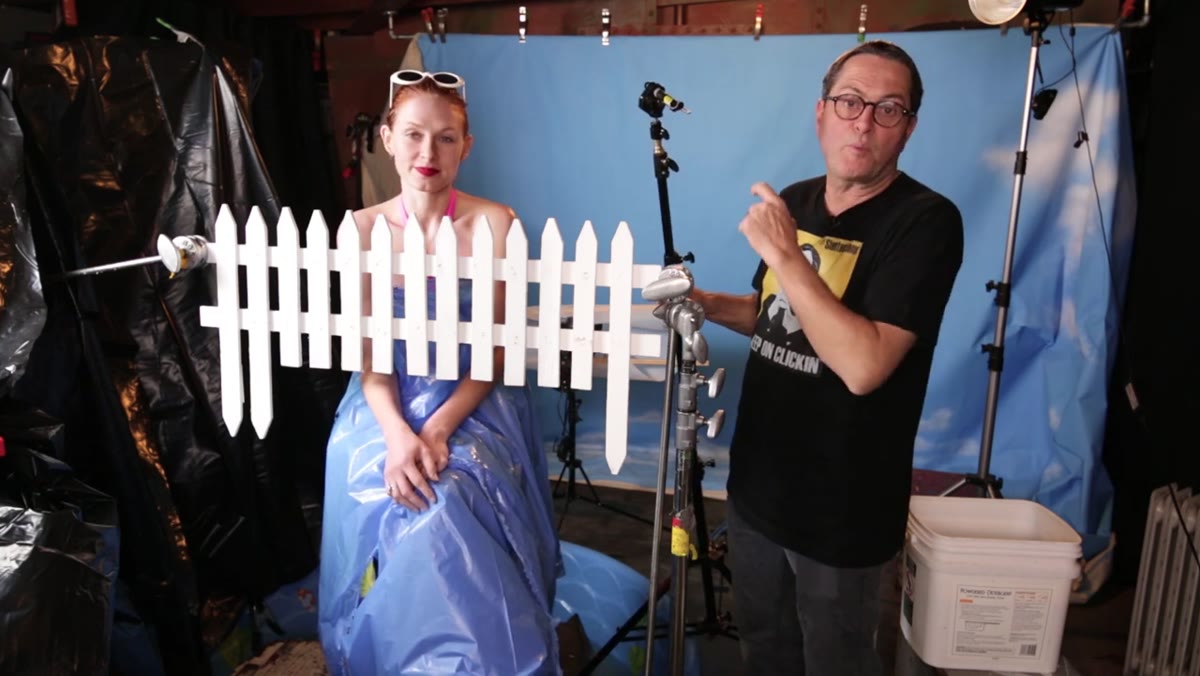
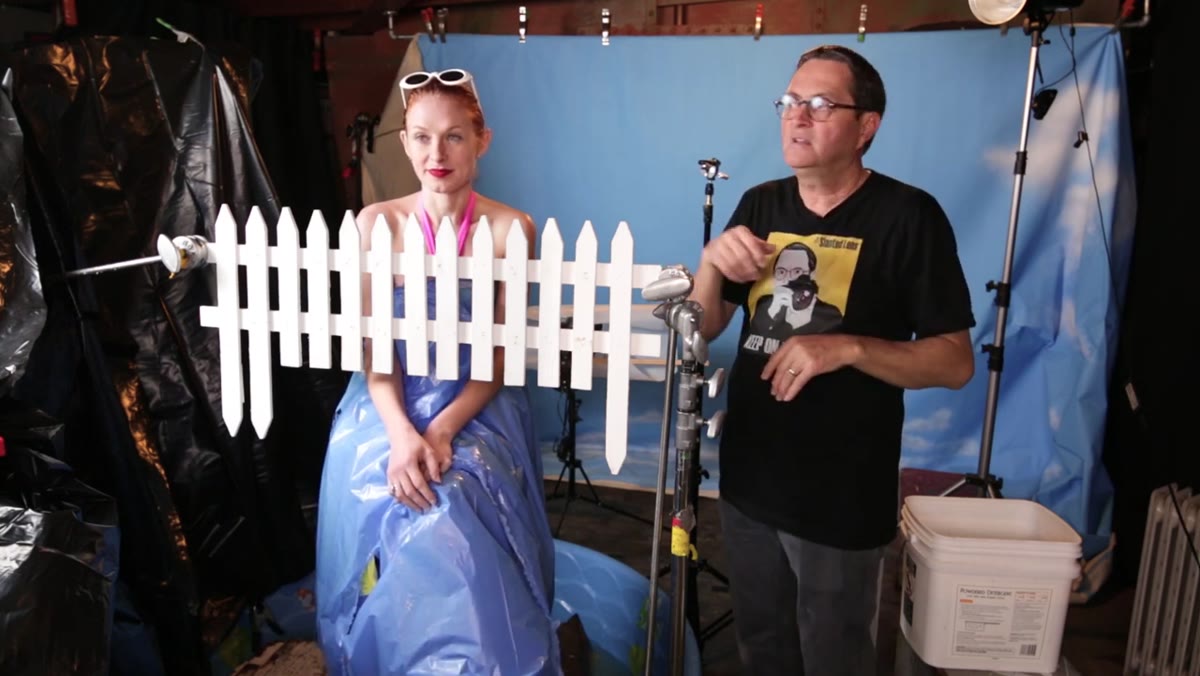
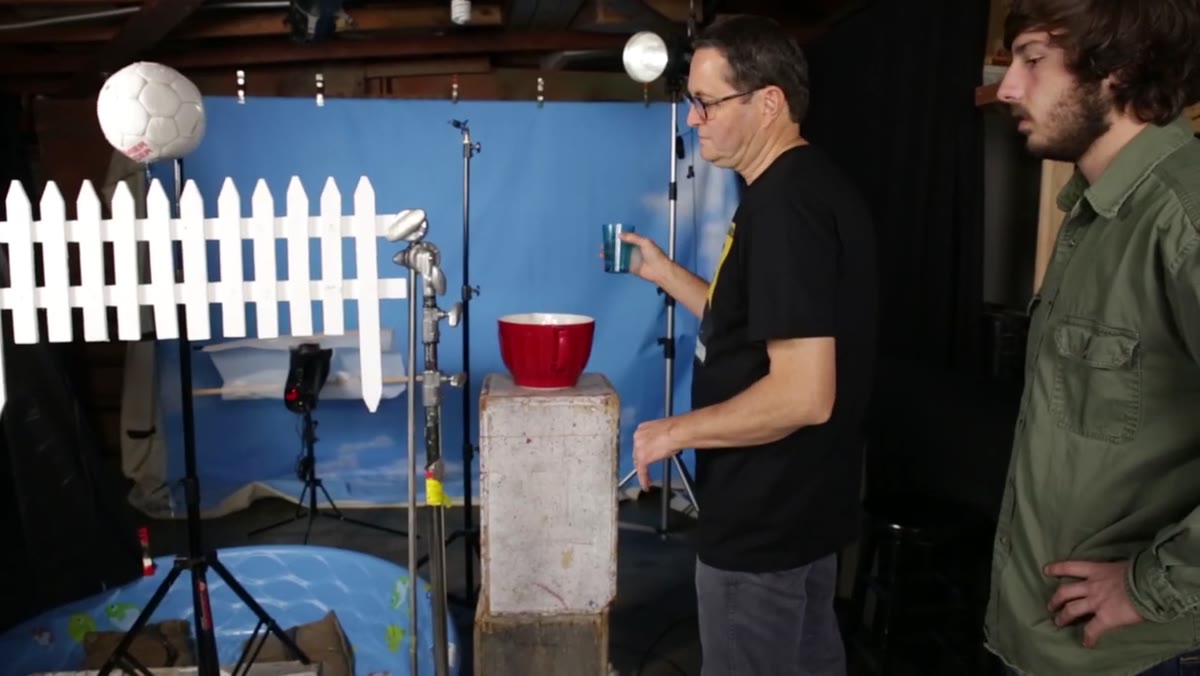
 Blue sky backdrop, picket fence, and kiddie pool setup
Before any trigger gets configured, the physical set needs to handle the chaos of water being thrown repeatedly. In the tutorial, JP uses a blue sky backdrop, a small decorative picket fence assembled from two Home Depot sections joined together and mounted on light stands, and a plastic kiddie pool on the floor. The subject sits on apple boxes inside the pool so that most of the water lands contained rather than soaking the studio floor.
Blue sky backdrop, picket fence, and kiddie pool setup
Before any trigger gets configured, the physical set needs to handle the chaos of water being thrown repeatedly. In the tutorial, JP uses a blue sky backdrop, a small decorative picket fence assembled from two Home Depot sections joined together and mounted on light stands, and a plastic kiddie pool on the floor. The subject sits on apple boxes inside the pool so that most of the water lands contained rather than soaking the studio floor.
The fence serves double duty: it gives the image a foreground layer that adds visual depth, and it establishes a sense of scale and setting without being distracting. That kind of practical thinking - building the set so it both photographs well and survives repeated water throws without becoming a slip hazard - is worth thinking through before you commit to the concept.
Step 2: Mount the Laser Pointer at the Edge of the Frame
 Laser pointer clamped on ball head aimed at MIOPS trigger
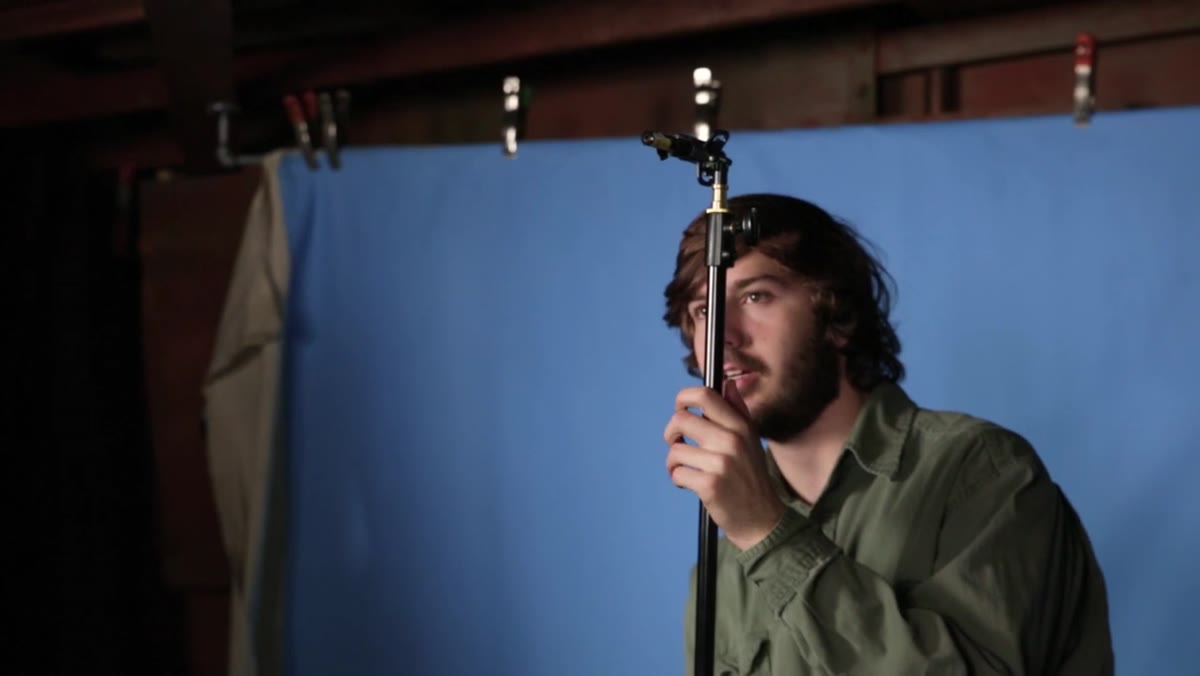
The laser pointer needs to be positioned just outside the frame edge, aimed across the shooting area so the beam travels along the plane where the water will fall. In the tutorial, a Manfrotto-style clamp holds the laser on a small ball head, which makes micro-adjustments far easier than trying to tape a pointer to a stand. Precision here matters: if the beam is too far inside the frame, the trigger fires too late; too far outside and it fires before the water is anywhere interesting.
Laser pointer clamped on ball head aimed at MIOPS trigger
The laser pointer needs to be positioned just outside the frame edge, aimed across the shooting area so the beam travels along the plane where the water will fall. In the tutorial, a Manfrotto-style clamp holds the laser on a small ball head, which makes micro-adjustments far easier than trying to tape a pointer to a stand. Precision here matters: if the beam is too far inside the frame, the trigger fires too late; too far outside and it fires before the water is anywhere interesting.
To keep the laser button continuously depressed without someone holding it, JP simply folds a piece of tape over the button and presses it down. Simple, but effective. The MIOPS trigger sits on top of the camera and needs to receive that beam directly. You’re essentially building a tripwire across a specific vertical plane in front of your subject.
Step 3: Pair the Laser with the MIOPS Trigger
 MIOPS trigger display showing laser mode paired indicator
Switch the MIOPS into laser mode and then physically align the laser beam with the trigger’s receiver. The device gives you a visual confirmation on its display once the signal is locked in. According to JP, the trigger will not function until that indicator appears, so don’t skip verifying it. Rushing past this step and then wondering why the strobes aren’t firing mid-shoot is the kind of time-waster I have zero patience for.
MIOPS trigger display showing laser mode paired indicator
Switch the MIOPS into laser mode and then physically align the laser beam with the trigger’s receiver. The device gives you a visual confirmation on its display once the signal is locked in. According to JP, the trigger will not function until that indicator appears, so don’t skip verifying it. Rushing past this step and then wondering why the strobes aren’t firing mid-shoot is the kind of time-waster I have zero patience for.
Once paired, test it by breaking the beam with your hand. The strobe should fire on interruption. If it doesn’t, recheck alignment before you bring water anywhere near the set.
Step 4: Set the Camera to Bulb Mode and Kill the Ambient Light
 Camera in bulb mode, room darkened for strobe-only exposure
With the laser tripwire active, switch the camera to bulb mode and turn off all room lighting. In a fully darkened room, the only light that matters is what the strobe produces during its brief burst. This gives you an effective shutter speed determined entirely by the flash duration rather than a mechanical shutter - typically somewhere in the range of 1/1000th of a second or faster depending on your strobes, which is fast enough to freeze water movement cleanly.
Camera in bulb mode, room darkened for strobe-only exposure
With the laser tripwire active, switch the camera to bulb mode and turn off all room lighting. In a fully darkened room, the only light that matters is what the strobe produces during its brief burst. This gives you an effective shutter speed determined entirely by the flash duration rather than a mechanical shutter - typically somewhere in the range of 1/1000th of a second or faster depending on your strobes, which is fast enough to freeze water movement cleanly.
The shutter stays open during the throw, the laser beam gets broken by the falling water, the MIOPS fires the strobe, and the exposure closes. No trigger finger required. This also means the timing is entirely consistent across multiple attempts, which is exactly the kind of repeatability you need when a client is expecting usable selects from a one-day shoot.
Step 5: Dial In the Delay to Position the Water
 MIOPS delay settings being adjusted incrementally during test throws
This is the step that makes the whole system worth using. When water first breaks the laser beam, it’s nowhere near the subject’s face - the trigger would fire immediately and capture nothing useful. The MIOPS allows you to set a delay in milliseconds between the beam break and the actual strobe fire, effectively letting you choose when in the water’s arc the image gets captured.
MIOPS delay settings being adjusted incrementally during test throws
This is the step that makes the whole system worth using. When water first breaks the laser beam, it’s nowhere near the subject’s face - the trigger would fire immediately and capture nothing useful. The MIOPS allows you to set a delay in milliseconds between the beam break and the actual strobe fire, effectively letting you choose when in the water’s arc the image gets captured.
In the tutorial, JP works through delays of 10, 20, 40, 90, 130, and 160 milliseconds, reviewing each result before stepping up. You watch the water creep progressively closer to the subject’s head with each increment, until it hits the exact moment of impact and explosion. The predictability is the point: once you find the delay value that produces the frame you want, every subsequent throw at consistent speed will replicate that result. You can actually plan the shot instead of mining a burst for accidents.
Step 6: Key Light with a Beauty Dish and a Flag
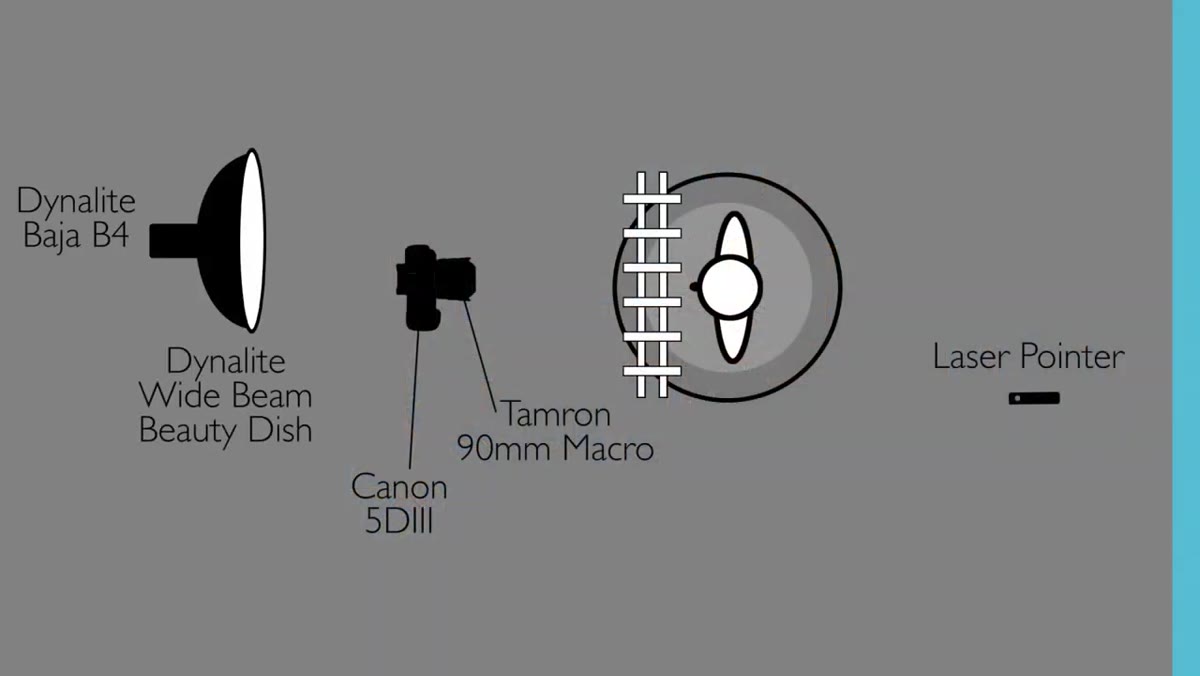 Beauty dish positioned as key light with flag underneath
The lighting in the tutorial is deliberate and worth noting. JP places a large beauty dish with a white diffusion cover and a specular silver interior as the key light. The choice is intentional for this subject: the specular silver produces a high-contrast, flattering highlight on skin that reads beautifully in water photography where you want droplets to catch light with dimension.
Beauty dish positioned as key light with flag underneath
The lighting in the tutorial is deliberate and worth noting. JP places a large beauty dish with a white diffusion cover and a specular silver interior as the key light. The choice is intentional for this subject: the specular silver produces a high-contrast, flattering highlight on skin that reads beautifully in water photography where you want droplets to catch light with dimension.
A flag is placed directly underneath the beauty dish to cut light off the white fence in the foreground. Without it, the fence would blow out and compete with the subject. One light, one modifier, one flag - and the result looks clean and commercial. Knowing when a single well-placed light beats a complex multi-light setup is a skill that takes years to build confidence in.
What I’d Add from Experience on Commercial Sets
The delay-finding process in the tutorial is done manually, throw by throw, which is absolutely the right approach for a first session with a new concept. But once you have a delay value that works for a specific water volume thrown from a specific height, write it down. I keep a simple reference sheet for repeatable scenarios, because six months later when a client wants a similar shot, starting from scratch is a waste of everyone’s time. Note the delay, the strobe power, the distance of the laser from the subject, and the rough throw height. That information is worth more than any preset.
Also: laser eye safety is not mentioned casually in the tutorial - JP flags it explicitly. Keep the beam below eye level, never let it point toward the camera sensor, and brief every person on set before anything gets turned on. A burned sensor is an expensive afternoon.
The single biggest takeaway from this tutorial is that stop-action photography doesn’t have to be a volume game. The laser tripwire combined with millisecond delay control turns an unpredictable, exhausting technique into something systematic and repeatable. That’s the kind of efficiency I’ve spent fifteen years chasing on commercial sets - and it applies whether you’re shooting water, breaking glass, or capturing any other fast event where the interesting moment lasts less time than a blink.
Watch the full tutorial on YouTube to see the complete shoot and the final results from JP Morgan and The Slanted Lens.
Comments (1)
Simple but effective. Sometimes that's all you need.
Leave a Comment