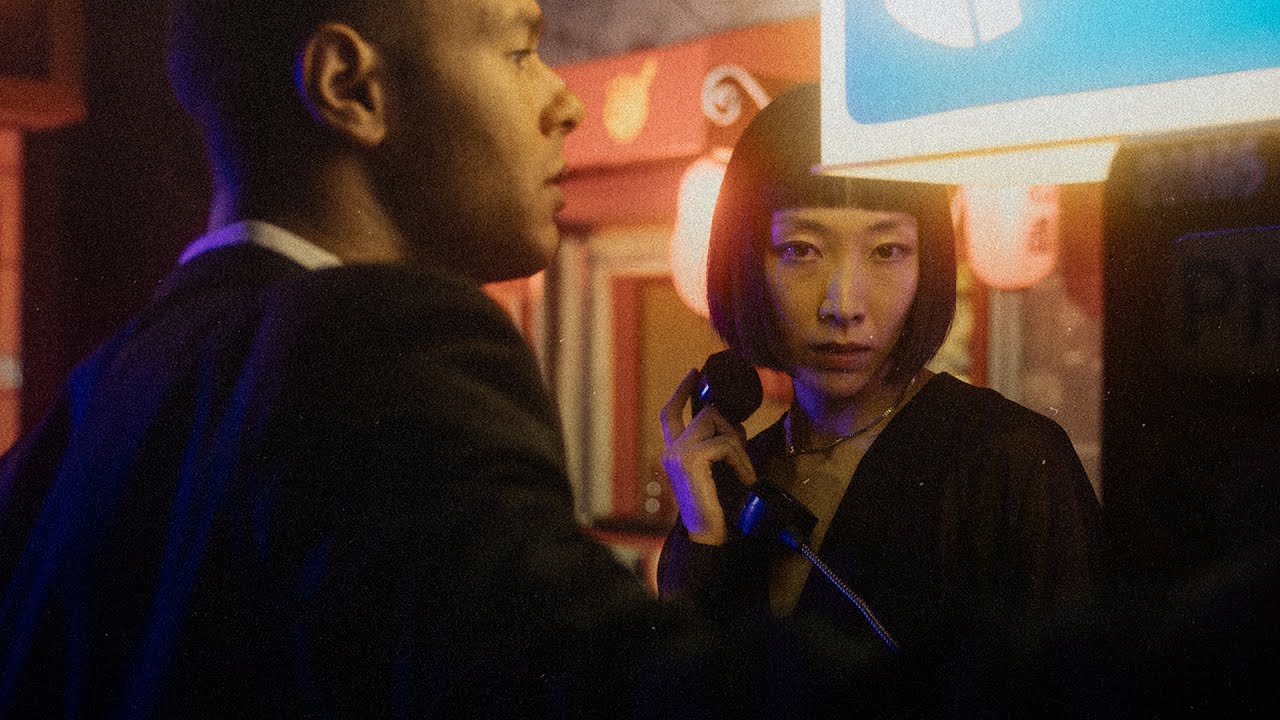
Most of my work lives in the controlled chaos of commercial studios - product shots, ad campaigns, e-commerce grids that need to look consistent at scale. But every so often a client wants something with real cinematic punch, the kind of image that looks like it was pulled from a movie poster rather than a catalog. That gap between “nice photo” and “this looks like a film still” used to cost me a lot of trial and error. What I’ve found is that the difference usually isn’t the camera or even the lens. It’s the layering - light on top of light, atmosphere on top of atmosphere, until the image has genuine depth.
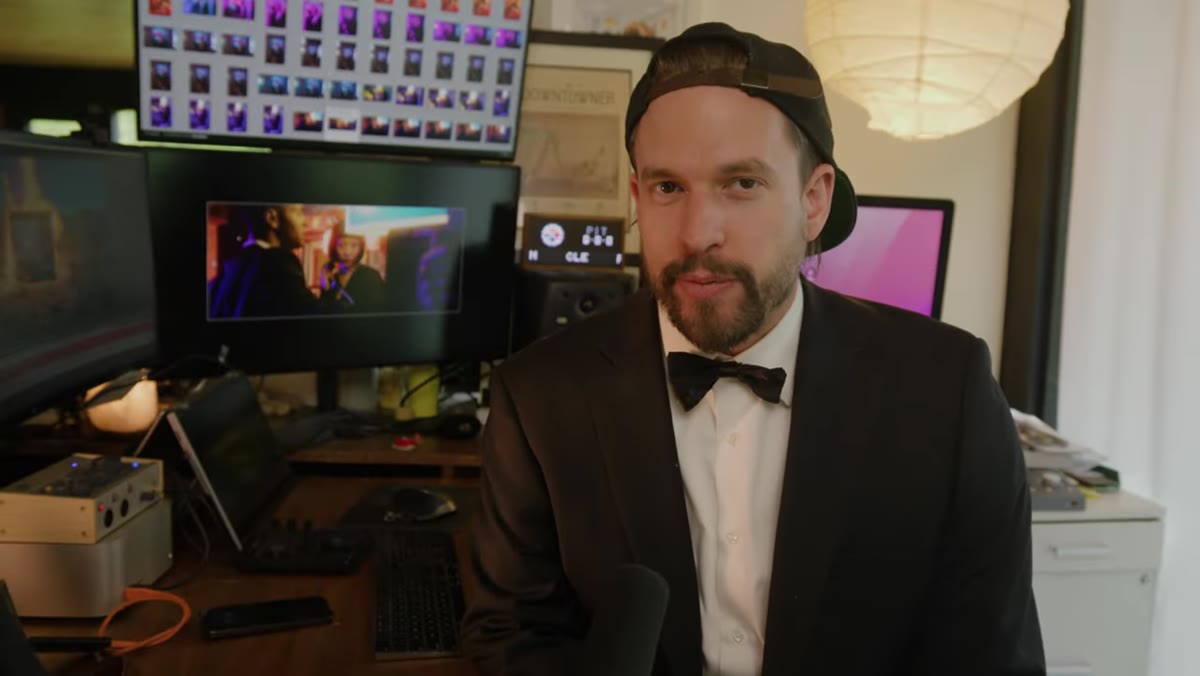
In this Mango Street tutorial, Watch the full tutorial on YouTube, Rachel and Daniel walk through how they staged a full action movie-inspired portrait session without a Hollywood budget. The location, the wardrobe, the supplemental lighting, the haze - each decision builds on the last. What looks like a complex production when you see the final frames is actually a tight, replicable system. I’ve broken it down step by step so you can take these ideas into your next shoot without having to pause and rewind.
Step 1: Choose a Location That Already Has Cinematic Character
 Crew and talent on set near a ramen shop storefront
Before a single light gets switched on, the location is doing a significant amount of work. Mango Street chose an urban setting with practical lighting already built in - storefront signs, warm overhead fixtures, the kind of ambient glow that reads immediately as “city at night.” This matters because it gives you a foundation to react to rather than a blank canvas to fill from scratch.
Crew and talent on set near a ramen shop storefront
Before a single light gets switched on, the location is doing a significant amount of work. Mango Street chose an urban setting with practical lighting already built in - storefront signs, warm overhead fixtures, the kind of ambient glow that reads immediately as “city at night.” This matters because it gives you a foundation to react to rather than a blank canvas to fill from scratch.
When scouting for this kind of shoot, look for locations where at least one strong color of light already exists in the environment. Warm orange and red sources - neon signs, vintage bulbs, lanterns - are especially useful because they read as dramatic without needing much help. Your job in post, and with your supplemental gear, becomes much simpler when the location is already 60% of the way there.
Step 2: Dress Your Talent for the Genre
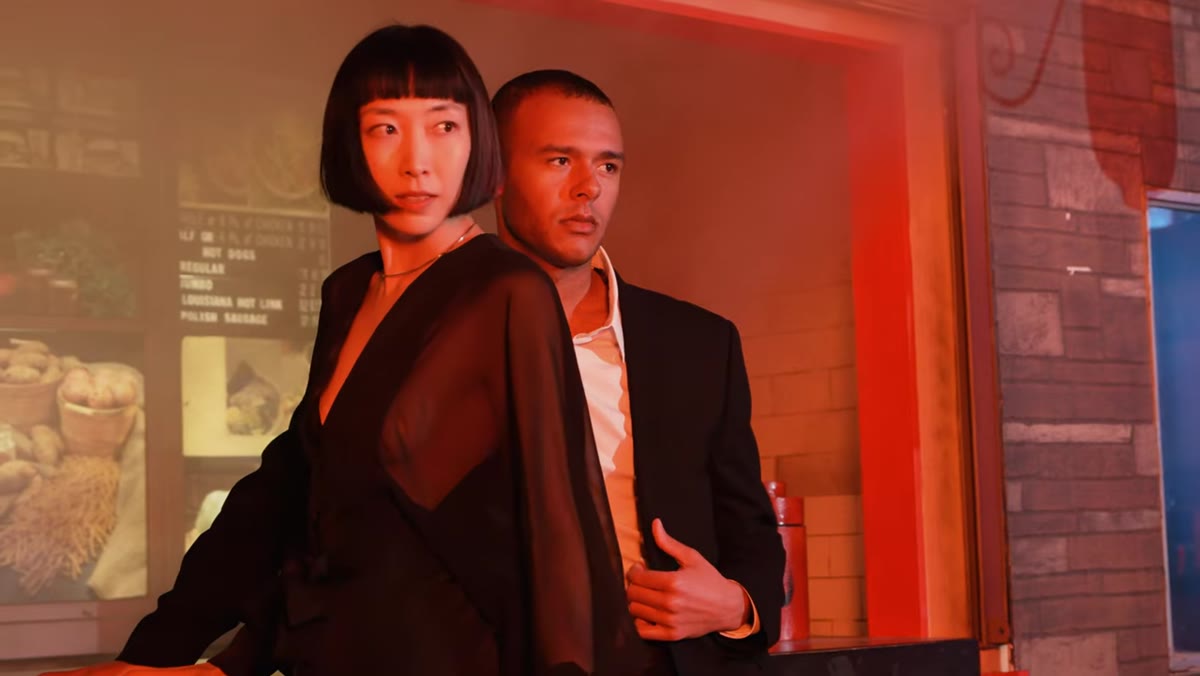 Talent in formal attire on the set location
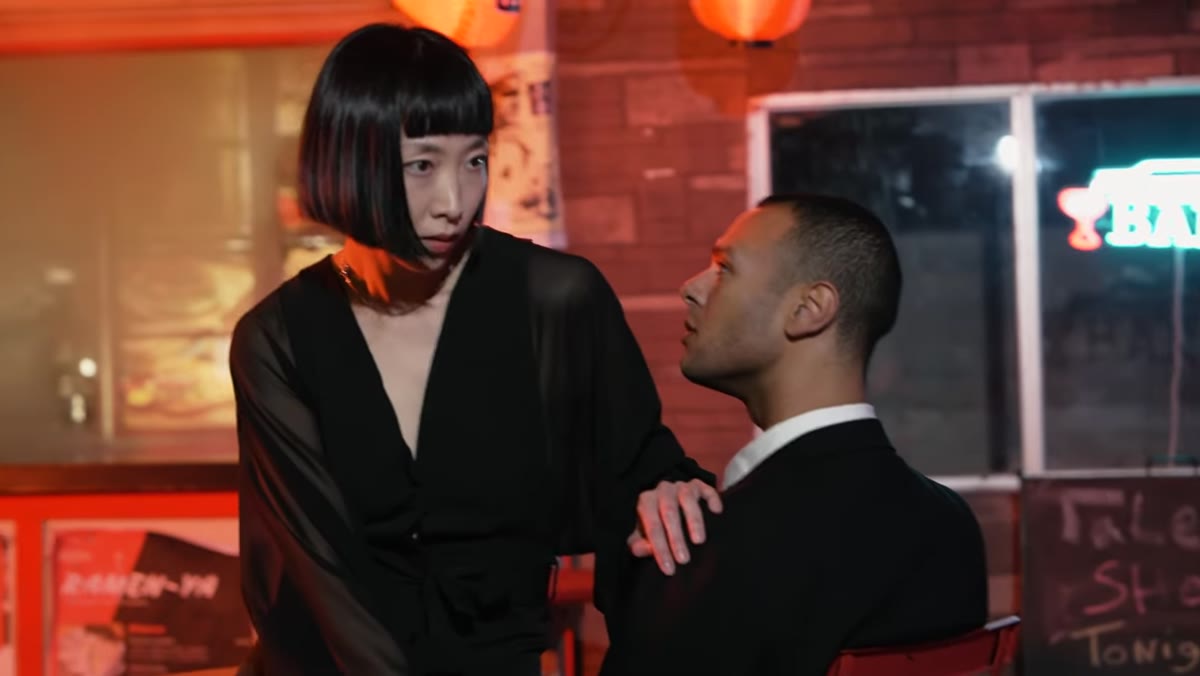
Wardrobe is a visual shortcut that tells the viewer what kind of image they’re looking at before they process anything else. For an action movie aesthetic, Mango Street put their subjects in sharp, formal clothing - the kind of tailored look that signals high stakes without being costume-y. This is a useful creative decision regardless of the specific genre you’re shooting toward.
Talent in formal attire on the set location
Wardrobe is a visual shortcut that tells the viewer what kind of image they’re looking at before they process anything else. For an action movie aesthetic, Mango Street put their subjects in sharp, formal clothing - the kind of tailored look that signals high stakes without being costume-y. This is a useful creative decision regardless of the specific genre you’re shooting toward.
Think about what clothing choices communicate in a single frame. Clean lines and structured silhouettes read as controlled and intentional. Casualwear softens that. If your client or creative brief has a genre in mind, pull a few reference stills from actual films in that genre and pay attention to what the wardrobe is doing compositionally. That reference work takes fifteen minutes and saves a lot of second-guessing on set.
Step 3: Match Your Supplemental Light to the Practical Sources
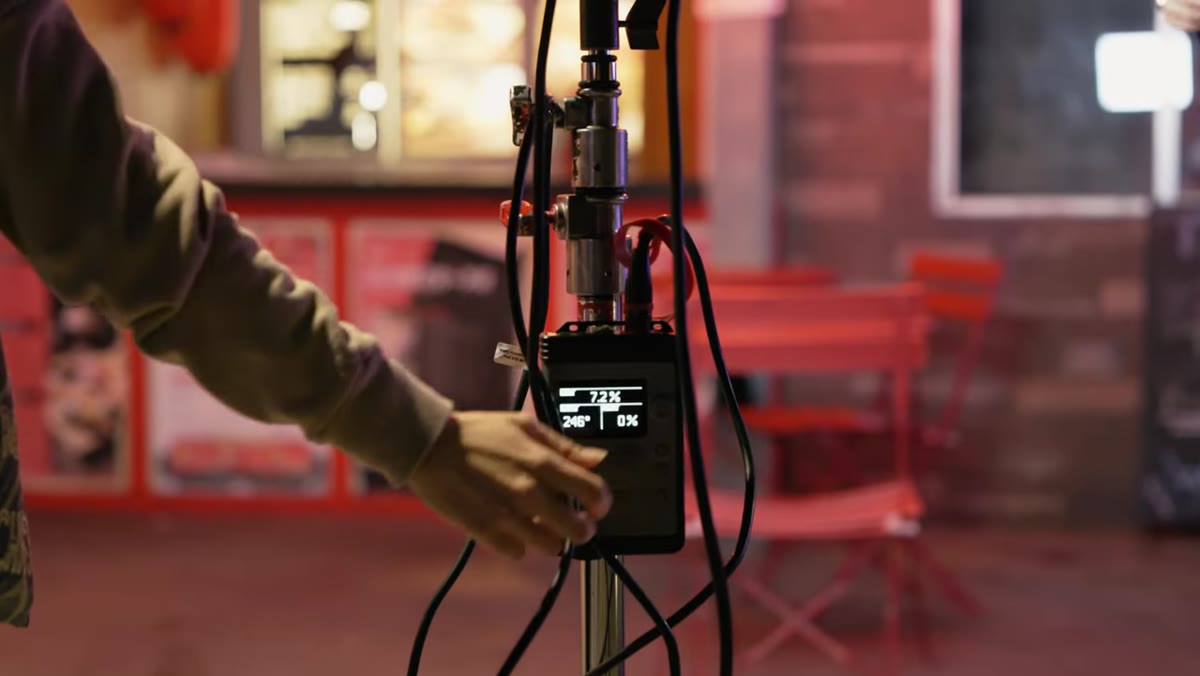 Light panel positioned at the edge of the frame near the ramen shop
Here is where a lot of photographers lose the plot. They bring a powerful strobe or LED panel to a location with existing practical lights and just point it at the subject. The result looks lit rather than cinematic because the supplemental source conflicts with the ambient color temperature instead of reinforcing it.
Light panel positioned at the edge of the frame near the ramen shop
Here is where a lot of photographers lose the plot. They bring a powerful strobe or LED panel to a location with existing practical lights and just point it at the subject. The result looks lit rather than cinematic because the supplemental source conflicts with the ambient color temperature instead of reinforcing it.
Mango Street used an Aperture Nova light panel and matched its hue to the red-orange practicals already in the environment. They then positioned it at the edge of the frame to create directional drama rather than flat fill. The key technique here is subtraction - you’re not trying to overpower the scene, you’re trying to add one more layer that feels like it belongs. Dial your panel’s color temperature and hue to match whatever dominant source is already present, then feather the light so it rakes across the subject rather than drowning them in flat output.
Step 4: Add a Cine Bloom Filter for Organic Softness
 Camera with cine bloom filter mounted on lens
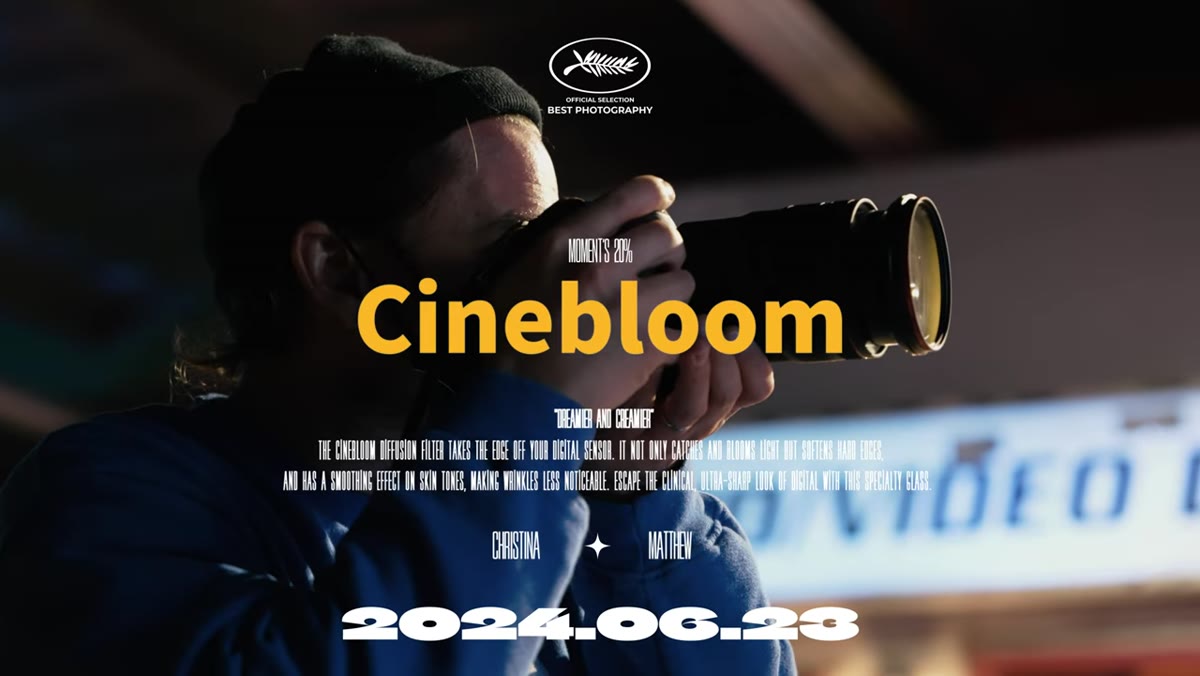
Shooting on a Canon R5C, the team added a Moment 20% CinéBloom filter to their 24-70mm lens. This is a diffusion filter that introduces a soft halation around bright light sources, the kind of gentle glow you see in film photography and in actual motion picture cinematography. It doesn’t destroy sharpness - it just takes the digital edge off highlights and gives the overall image a slightly dreamier quality.
Camera with cine bloom filter mounted on lens
Shooting on a Canon R5C, the team added a Moment 20% CinéBloom filter to their 24-70mm lens. This is a diffusion filter that introduces a soft halation around bright light sources, the kind of gentle glow you see in film photography and in actual motion picture cinematography. It doesn’t destroy sharpness - it just takes the digital edge off highlights and gives the overall image a slightly dreamier quality.
You don’t need this specific filter to approximate the effect, but physical diffusion at capture is always cleaner than trying to replicate it in post. If you’re testing the look before committing to a filter purchase, try a very light application of a diffusion brush in Photoshop over highlight areas to simulate what the bloom does optically. It won’t be identical, but it’ll tell you quickly whether the aesthetic suits the project.
Step 5: Use a Fog Machine to Add Depth and Atmosphere
 Fog machine in use at the back of the set location
This is the step that makes the biggest visible difference and gets overlooked most often because it sounds like a theatrical gimmick. It isn’t. Haze and fog scatter light in ways that create visible depth in an image - you can literally see the distance between foreground and background when there’s atmosphere between them. Without it, even a beautifully lit scene can look flat.
Fog machine in use at the back of the set location
This is the step that makes the biggest visible difference and gets overlooked most often because it sounds like a theatrical gimmick. It isn’t. Haze and fog scatter light in ways that create visible depth in an image - you can literally see the distance between foreground and background when there’s atmosphere between them. Without it, even a beautifully lit scene can look flat.
The Mango Street team used a fog machine positioned in the background of the ramen shop set. They also used a six-in-one reflector - not for bouncing light in the traditional sense, but for directing and spreading the haze to fill the space more evenly. This is a smart dual-use of a piece of gear you almost certainly already own. The amount of haze to use takes some calibration. Start with less than you think you need, shoot a frame, check the histogram, and build from there.
What I’d Add from My Own Experience
I’ve built a lot of Photoshop actions and batch workflows designed to systematize post-production, and the shoots that come through my pipeline fastest are always the ones where the cinematic atmosphere was captured in camera rather than constructed after the fact. Haze in particular is genuinely difficult to add convincingly in post - it needs to interact with the specific light sources in the frame, and faking that interaction is time-consuming even when you know what you’re doing.
If you want to build a Photoshop-side complement to this shooting approach, I’d focus your action on color grading rather than atmosphere. Build a set of curves adjustments that push the shadows slightly warm and pull the highlights toward a cooler, more desaturated tone - that teal-and-orange split that reads immediately as cinematic. Pair that with a gentle luminosity mask that protects your midtones, and you have a one-click starting point for any image that already has good haze and light layering from the shoot itself.
The single biggest lesson from this tutorial is that cinematic atmosphere is a production problem, not a post-production problem. You can refine it in Photoshop, but you can’t manufacture it there cheaply. Build the layers on set - location, wardrobe, matched supplemental light, physical diffusion, atmosphere - and your editing time drops significantly while your results get dramatically better.
Watch the full tutorial on YouTube to see exactly how the Mango Street team executed each of these steps on set.
Comments
Leave a Comment