Presets saved my post-production business. That is not an exaggeration. When I transitioned out of studio work into running my own consultancy, the volume of editing I had to absorb solo was genuinely alarming. Presets, alongside actions and batch workflows, became the infrastructure I built everything else on top of. So when a tutorial promises to cover presets from soup to nuts, installation through backup, I pay attention.
In this Matt Kloskowski tutorial, Watch the full tutorial on YouTube, Matt walks through the complete lifecycle of a Lightroom preset: getting it into Lightroom, using it intelligently, layering presets together, peeking inside them to understand what they’re actually doing, keeping your library organized, and protecting that library when you switch machines. It’s the kind of ground-up coverage that would have saved me a few confused hours when I first started building my own preset library. What follows is my own breakdown of the walkthrough, with notes from someone who has been running these workflows at a professional level for years.
Step 1: Unzip Before You Do Anything Else
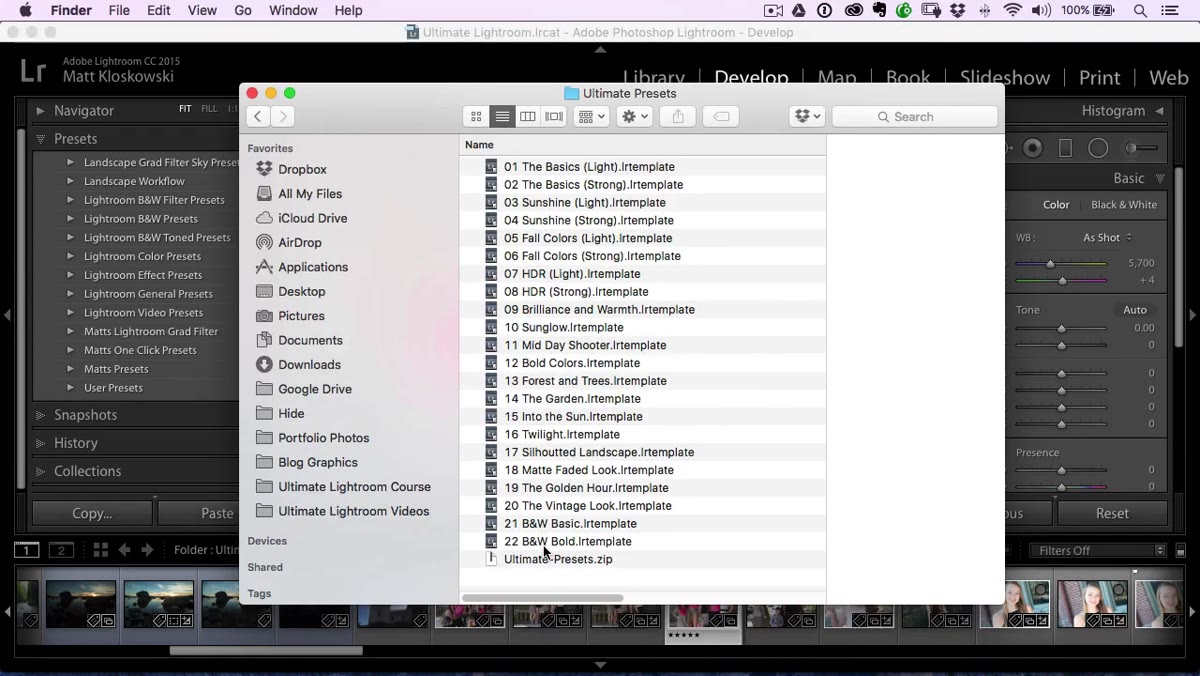 Zip file and extracted LR template files on desktop
This sounds obvious until you watch someone try to import a zip file directly and wonder why nothing shows up. When you download a preset pack, it arrives compressed. You need to extract it first. Inside that zip you’ll find files with an
Zip file and extracted LR template files on desktop
This sounds obvious until you watch someone try to import a zip file directly and wonder why nothing shows up. When you download a preset pack, it arrives compressed. You need to extract it first. Inside that zip you’ll find files with an .lrtemplate extension or, in newer versions of Lightroom, .xmp files. Those are your actual presets. Dump the extracted folder somewhere you can find it, even just your desktop. The location doesn’t matter for installation purposes, so don’t overthink it.
Step 2: Create a New Folder in the Presets Panel
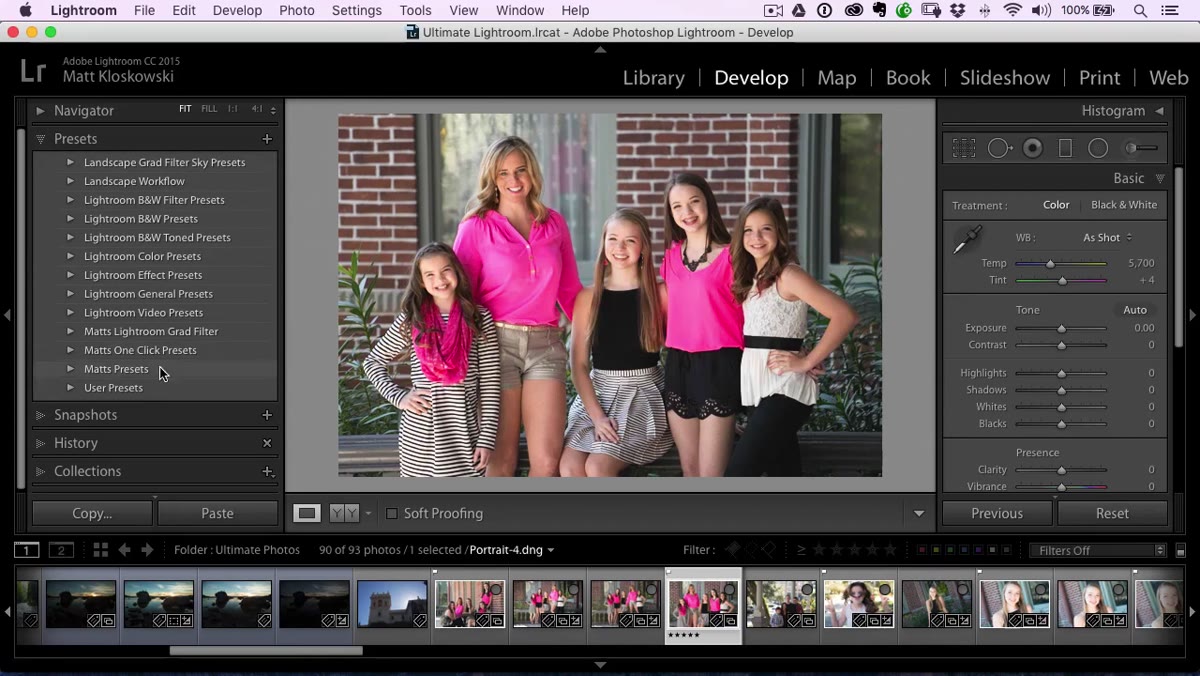 Right-click menu in Presets panel showing New Folder option
Jump to the Develop module in Lightroom. In the left panel, you’ll find the Presets section. Right-click anywhere inside that panel and choose “New Folder.” Name it something meaningful, ideally something specific enough that you’ll recognize it six months from now when your library has grown. Hit Create. This folder is where your imported presets will live, and keeping them organized from the start is far less painful than trying to sort a flat pile of 200 presets later. I color-code mine by category, which Lightroom doesn’t natively support, but a consistent naming convention gets you most of the way there.
Right-click menu in Presets panel showing New Folder option
Jump to the Develop module in Lightroom. In the left panel, you’ll find the Presets section. Right-click anywhere inside that panel and choose “New Folder.” Name it something meaningful, ideally something specific enough that you’ll recognize it six months from now when your library has grown. Hit Create. This folder is where your imported presets will live, and keeping them organized from the start is far less painful than trying to sort a flat pile of 200 presets later. I color-code mine by category, which Lightroom doesn’t natively support, but a consistent naming convention gets you most of the way there.
Step 3: Import the Presets into That Folder
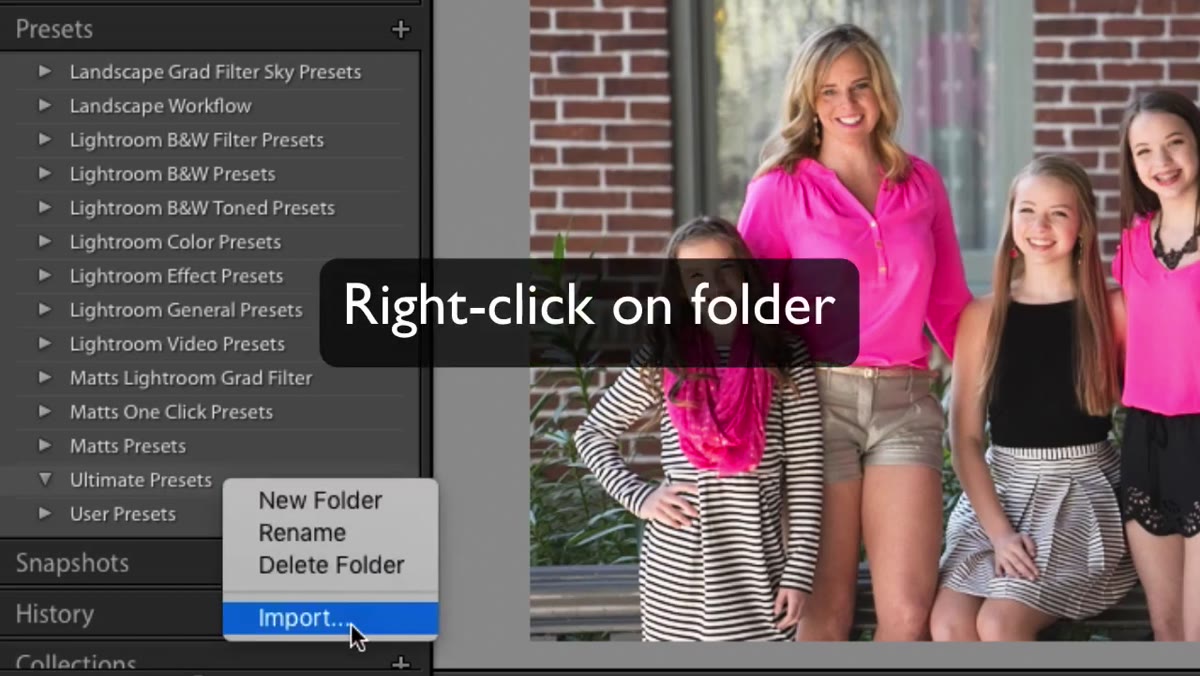 Right-click on preset folder showing Import option
Right-click on the new folder you just created and choose Import. Navigate to the folder where you extracted your preset files. Click the first preset, then Shift-click the last one to select all of them at once, and hit Import. That’s it. They populate the folder immediately. No restart required, no mysterious cache to clear. If you bought a large pack and you’re importing dozens of presets at once, this batch selection approach keeps it clean and fast.
Right-click on preset folder showing Import option
Right-click on the new folder you just created and choose Import. Navigate to the folder where you extracted your preset files. Click the first preset, then Shift-click the last one to select all of them at once, and hit Import. That’s it. They populate the folder immediately. No restart required, no mysterious cache to clear. If you bought a large pack and you’re importing dozens of presets at once, this batch selection approach keeps it clean and fast.
Step 4: Apply a Preset and Evaluate the Result
 Clicking a preset and viewing the result on a landscape photo
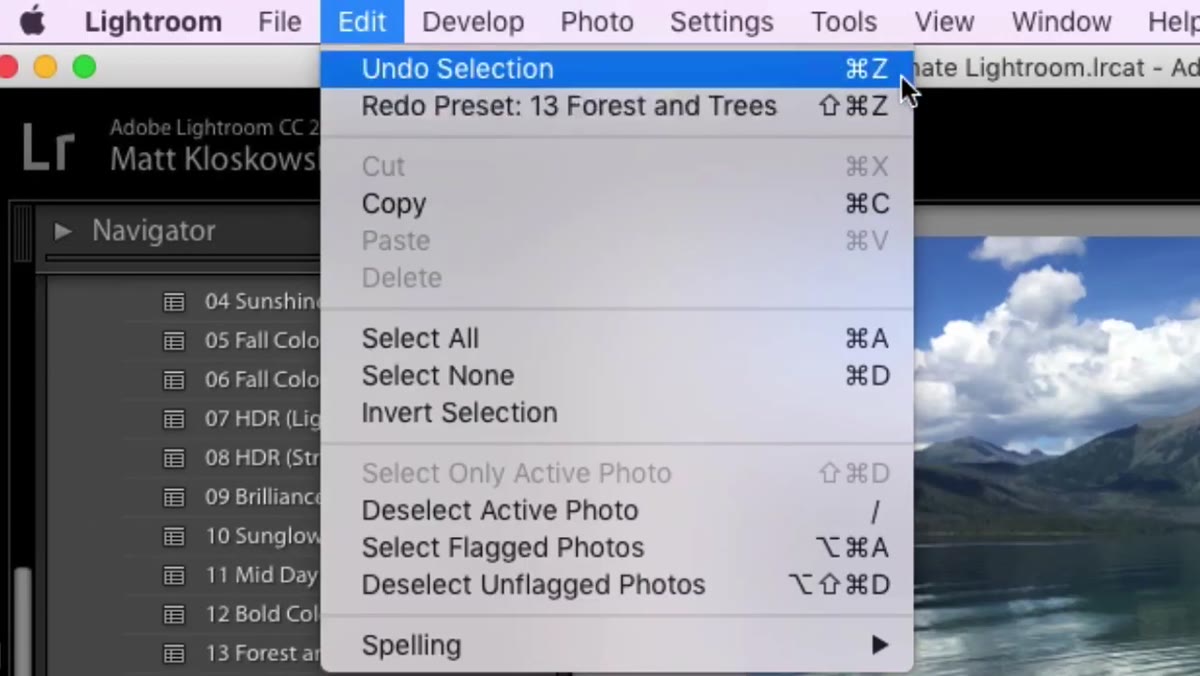
Click any preset name in the panel and Lightroom applies it to your selected image. What you’ll notice immediately is that presets are almost never a one-click finish. They’re starting points. Matt demonstrates this with several landscape-specific presets where the color boost or tone shift is clearly too aggressive for the specific photo. That’s normal and expected. Think of a preset the way you’d think of a filter in a recipe: the right amount depends on what you’re cooking with. A high-saturation preset built for overcast skies is going to behave very differently on a bright midday scene.
Clicking a preset and viewing the result on a landscape photo
Click any preset name in the panel and Lightroom applies it to your selected image. What you’ll notice immediately is that presets are almost never a one-click finish. They’re starting points. Matt demonstrates this with several landscape-specific presets where the color boost or tone shift is clearly too aggressive for the specific photo. That’s normal and expected. Think of a preset the way you’d think of a filter in a recipe: the right amount depends on what you’re cooking with. A high-saturation preset built for overcast skies is going to behave very differently on a bright midday scene.
Step 5: Adjust After Applying, Don’t Just Undo
 Develop panel sliders visible after preset applied
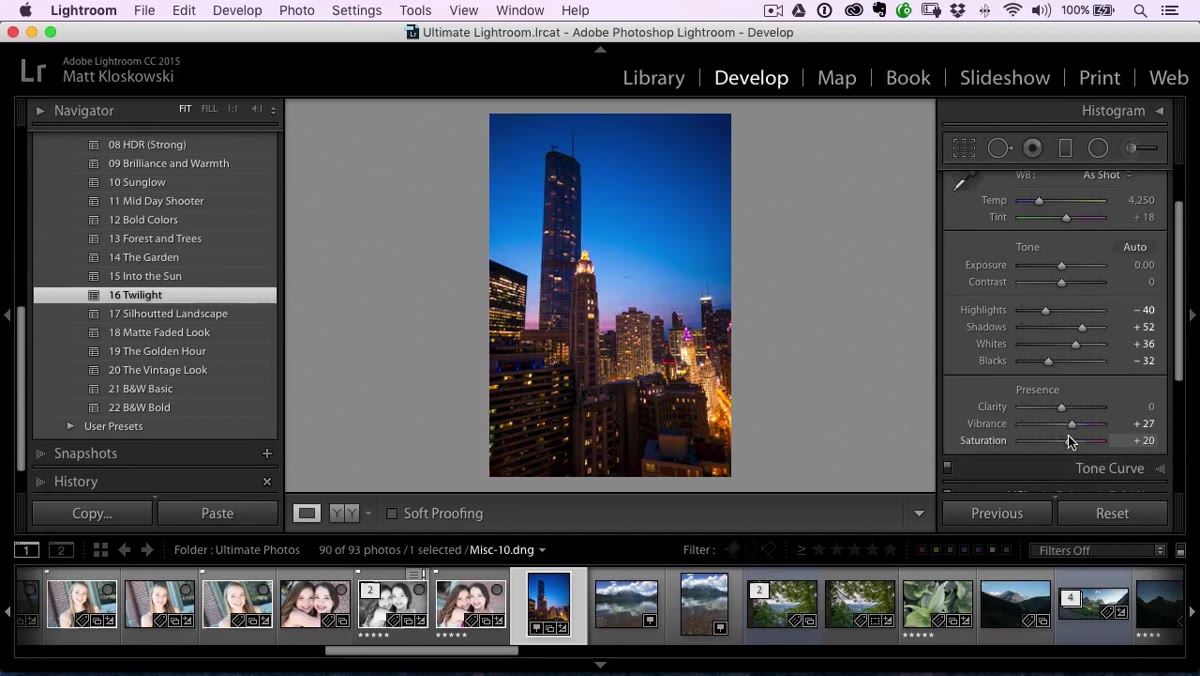
The instinct when a preset looks wrong is to hit Undo and try another one. Sometimes that’s right, but often the better move is to adjust the result. A preset that pushes exposure too far isn’t a bad preset, it’s a preset applied to a photo with different base exposure than the one it was built for. After applying, use the Develop sliders, particularly Exposure, Highlights, and Vibrance, to bring the image back to a realistic range. This is where your eye matters more than any automated tool. Matt demonstrates pulling back on a landscape preset that pushed green too heavily, and the fix takes about ten seconds of slider work.
Develop panel sliders visible after preset applied
The instinct when a preset looks wrong is to hit Undo and try another one. Sometimes that’s right, but often the better move is to adjust the result. A preset that pushes exposure too far isn’t a bad preset, it’s a preset applied to a photo with different base exposure than the one it was built for. After applying, use the Develop sliders, particularly Exposure, Highlights, and Vibrance, to bring the image back to a realistic range. This is where your eye matters more than any automated tool. Matt demonstrates pulling back on a landscape preset that pushed green too heavily, and the fix takes about ten seconds of slider work.
Step 6: Stack Presets for Compound Effects
 Applying a second preset on top of a previously applied preset
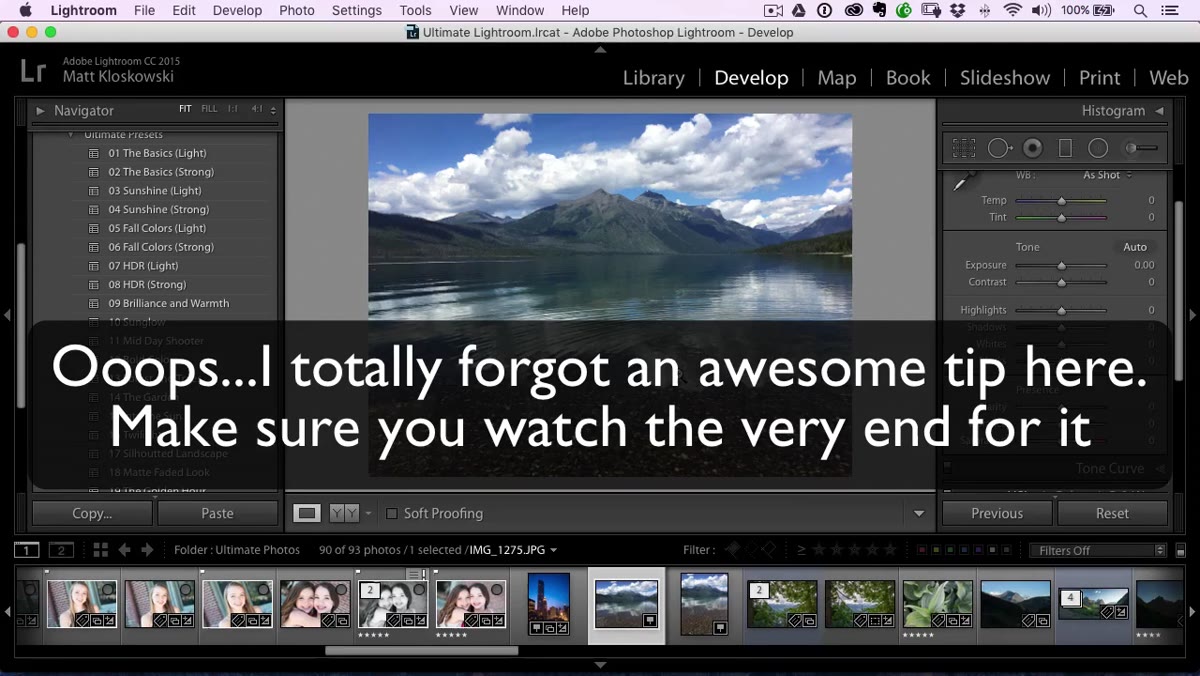
Lightroom presets don’t have to work alone. You can apply one preset and then apply a second on top of it, with the second layering its adjustments over whatever the first one set. This is particularly useful when you have a look preset that handles tone and color, and a separate grain or vignette preset you like to add consistently. The catch is understanding which sliders each preset touches. If both presets modify Exposure, the second one simply overwrites the first. If they touch different parameters, they stack cleanly. Experimenting here is the fastest way to learn how your specific presets interact.
Applying a second preset on top of a previously applied preset
Lightroom presets don’t have to work alone. You can apply one preset and then apply a second on top of it, with the second layering its adjustments over whatever the first one set. This is particularly useful when you have a look preset that handles tone and color, and a separate grain or vignette preset you like to add consistently. The catch is understanding which sliders each preset touches. If both presets modify Exposure, the second one simply overwrites the first. If they touch different parameters, they stack cleanly. Experimenting here is the fastest way to learn how your specific presets interact.
Step 7: Back Up Your Preset Library
 Navigating to the Lightroom presets folder on the file system
This is the step most people skip until they’re reformatting a hard drive and suddenly very sorry. Lightroom stores presets in a specific folder on your system. On Mac it’s buried in your Library folder; on Windows it’s in AppData. Matt recommends locating that folder, zipping the entire presets directory, and saving that zip somewhere off your machine, whether that’s an external drive or cloud storage. I keep mine in two places by default because I have seen drives fail at the worst possible moments. If you’re moving to a new computer, this zip is your entire preset library in one file, ready to drop into the same folder path on the new machine.
Navigating to the Lightroom presets folder on the file system
This is the step most people skip until they’re reformatting a hard drive and suddenly very sorry. Lightroom stores presets in a specific folder on your system. On Mac it’s buried in your Library folder; on Windows it’s in AppData. Matt recommends locating that folder, zipping the entire presets directory, and saving that zip somewhere off your machine, whether that’s an external drive or cloud storage. I keep mine in two places by default because I have seen drives fail at the worst possible moments. If you’re moving to a new computer, this zip is your entire preset library in one file, ready to drop into the same folder path on the new machine.
A Note from My Own Workflow: Test Presets on a Range of Images
Preset libraries have a way of feeling comprehensive until you apply them to an image type you didn’t test during installation. I learned this when a pack I loved for lifestyle photography looked muddy and oversaturated on the product shots I was editing for an e-commerce client. Now I keep a small test folder with four or five images that represent the range of work I do: a bright high-key product shot, a moody portrait, a landscape, and something with complex mixed lighting. Any new preset gets evaluated against all five before I slot it into my working library. This takes maybe five minutes and has saved me from several embarrassing client deliveries.
The single most important thing Matt’s tutorial reinforced for me is that a preset is a proposal, not a decision. It suggests a direction. You still have to drive. Lightroom’s Develop module exists specifically so you can interrogate that suggestion and push it toward the result the image actually needs.
Watch the full tutorial on YouTube to see Matt walk through every step with real examples, including his own free preset pack you can download and follow along with.
Comments
Leave a Comment