True HDR requires multiple bracketed exposures merged together. But the popular HDR aesthetic — that hyper-detailed, wide dynamic range look — can be approximated from a single exposure using Photoshop techniques. Building these into actions gives you repeatable results with customizable intensity.
Understanding the HDR Look
The HDR aesthetic has specific visual characteristics: compressed dynamic range (bright shadows, controlled highlights), enhanced local contrast (detail popping at every scale), and often increased color saturation. Some people love it, others hate it. The goal here isn’t to debate taste — it’s to give you control over the effect.
The Core Technique: Local Contrast Enhancement
The foundation of any HDR-style action is local contrast enhancement. Here’s the manual process you’ll record:
- Duplicate your background layer
- Apply a large-radius Unsharp Mask — something like Amount 30-50%, Radius 40-60px, Threshold 0
- This boosts contrast at a local level without affecting global contrast
The large radius is the key. Normal sharpening uses a radius of 1-3 pixels, which enhances fine detail. A radius of 40-60 pixels enhances contrast between larger areas — the light side of a face versus the shadow side, or the sky versus the ground.
Adding Shadow and Highlight Recovery
After local contrast enhancement, add shadow and highlight recovery:
- Create a merged stamp of all layers (Ctrl+Alt+Shift+E)
- Apply Image > Adjustments > Shadows/Highlights
- Open the advanced options
- Push Shadow Amount to 40-60% and Highlight Amount to 30-50%
- Keep the Radius values moderate — around 30px for both
This compresses the dynamic range, pulling detail out of shadows and controlling blown highlights. The combination of local contrast enhancement and dynamic range compression is what creates that classic HDR feel.
The Saturation Component
HDR-style images typically feature enhanced saturation, but straight saturation increases look garish. Instead, use a more targeted approach:
- Add a Vibrance adjustment layer
- Push Vibrance to +20-40 (this boosts muted colors more than already-saturated ones)
- Leave Saturation at 0 or nudge it slightly negative to counteract any over-saturation from the previous steps
Vibrance is inherently smarter than Saturation for this purpose because it protects skin tones and already-vivid colors from becoming neon.
Recording the Action
When recording, make the Shadow/Highlights and Unsharp Mask steps modal (enable the dialog icon) so you can adjust values per image. The ideal settings depend on the source image’s existing dynamic range and detail.
Record the action on a properly exposed image with a good range of tones. Test it on underexposed, overexposed, and flat images to see how it handles edge cases.
Intensity Control
Build intensity control into your action by grouping all HDR effect layers into a folder. At the end of the action, add a step that selects this group. The user can then adjust the group’s opacity to dial in the overall effect strength.
This is more elegant than relying on individual layer opacities because it gives a single master control for the entire effect.
Avoiding the Overcooked Look
The line between “nicely detailed” and “overcooked” is thin. Signs you’ve gone too far:
- Halos around high-contrast edges — reduce your Unsharp Mask radius or amount
- Crunchy shadows with visible noise — back off the Shadow Amount
- Neon colors — reduce Vibrance or add a slight Saturation decrease
- Flat, lifeless midtones — too much dynamic range compression kills natural contrast
Variations to Record
Consider recording three versions of your HDR action: Subtle (for real estate and landscape work where clients want a natural look with enhanced detail), Medium (the sweet spot for most editorial and commercial work), and Heavy (for artistic or stylized projects where the HDR look is the point).
Label them clearly and test each on at least ten different images before distributing them to your team or clients.
Comments (5)
Short, practical, and to the point. More of this please.
Would love to see a video walkthrough of this process. Any plans for that?
So well written. You make technical stuff actually enjoyable to read.
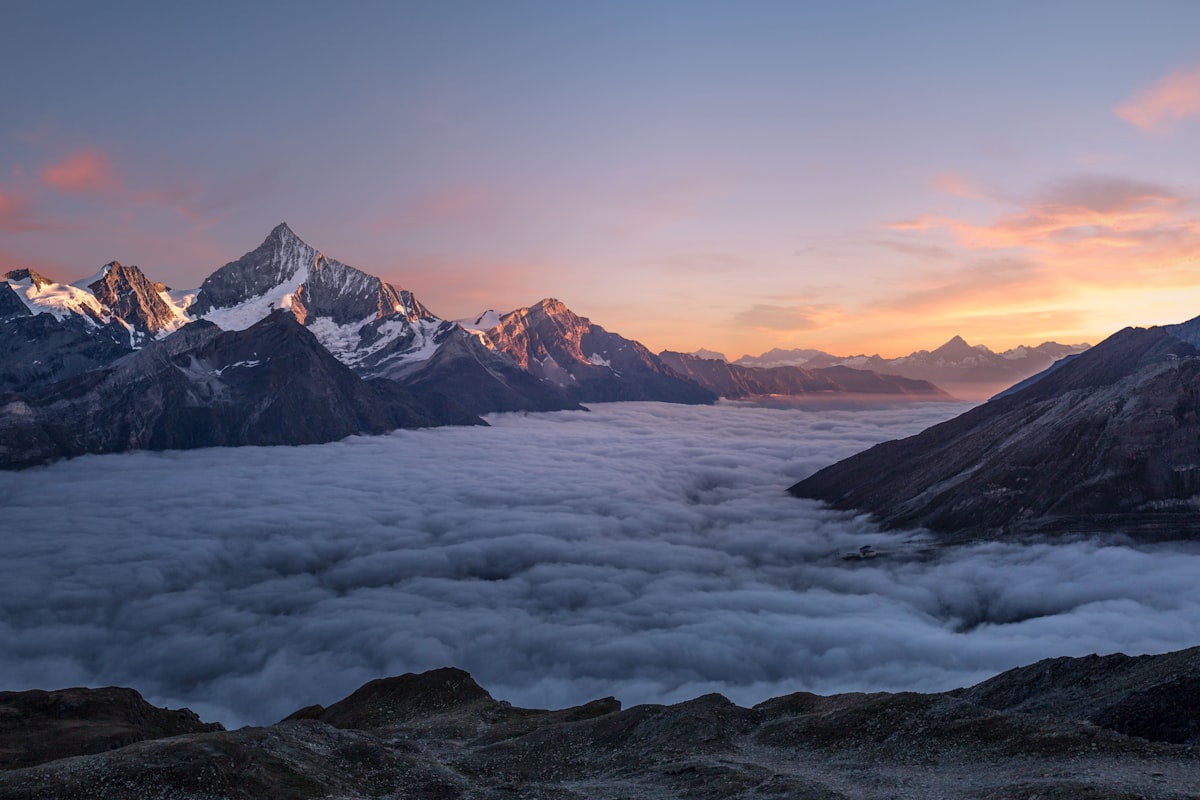
Strong technique. Works especially well when shooting outdoor scenes.
Great point, Ryan O'Brien. I might cover that in a future post.
Leave a Comment