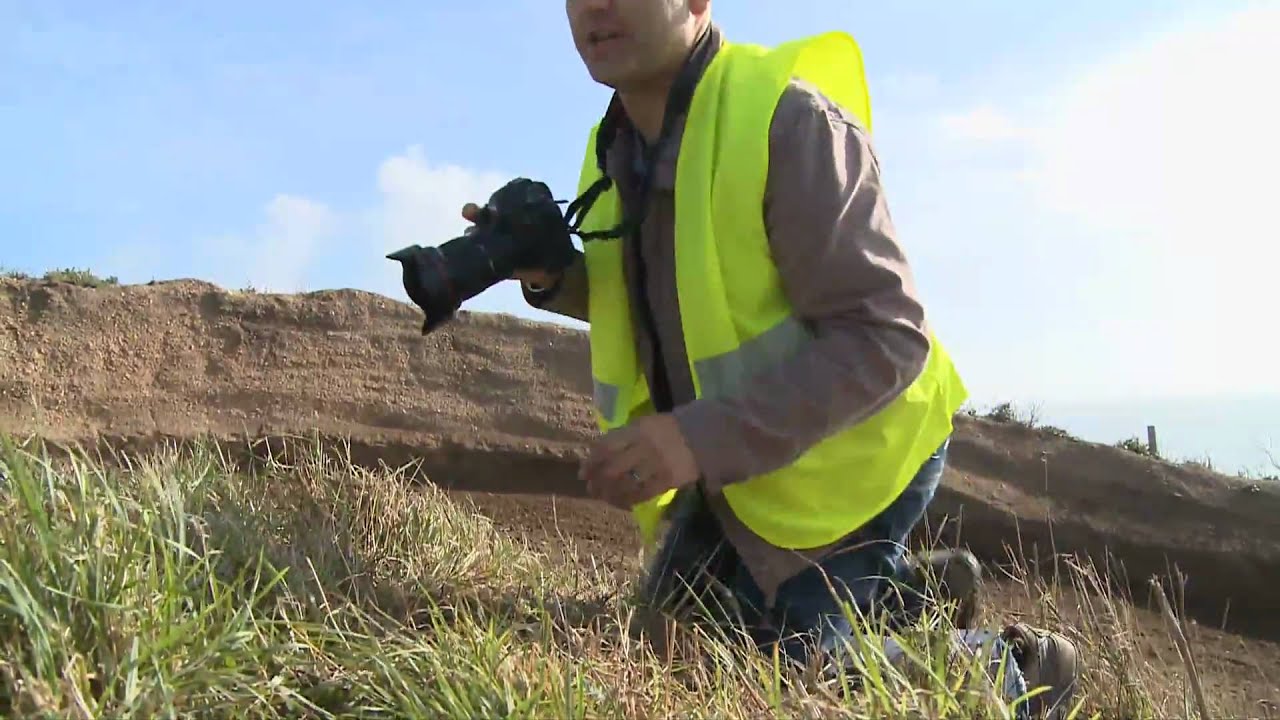
Most of my work happens in a controlled studio environment. Product shots, ad composites, e-commerce catalogs where the subject sits perfectly still under lights I’ve positioned myself. Action photography is basically the opposite of everything I do daily, which is exactly why I find it so useful to study. Understanding how to handle fast-moving subjects makes you a sharper photographer across the board, and the decision-making process behind shutter speed selection translates directly into better exposure instincts no matter what you’re shooting.
In this Visual Education tutorial, the instructor heads out to a motocross event to demonstrate two distinct approaches to capturing action. Watch the full tutorial on YouTube before or after reading this breakdown. What I appreciate about the approach here is that it immediately challenges a common assumption: that action photography is just about cranking your shutter speed as high as it will go. Sometimes the most powerful action shot isn’t frozen at all. That reframe alone is worth the runtime.
The tutorial splits its time between two techniques, panning and freeze-frame, and the honest field conditions (noise, moving subjects, changing light) make the instruction feel practical rather than polished. Here’s how to apply what’s demonstrated.
Step 1: Choose Your Location Based on Predictable Motion
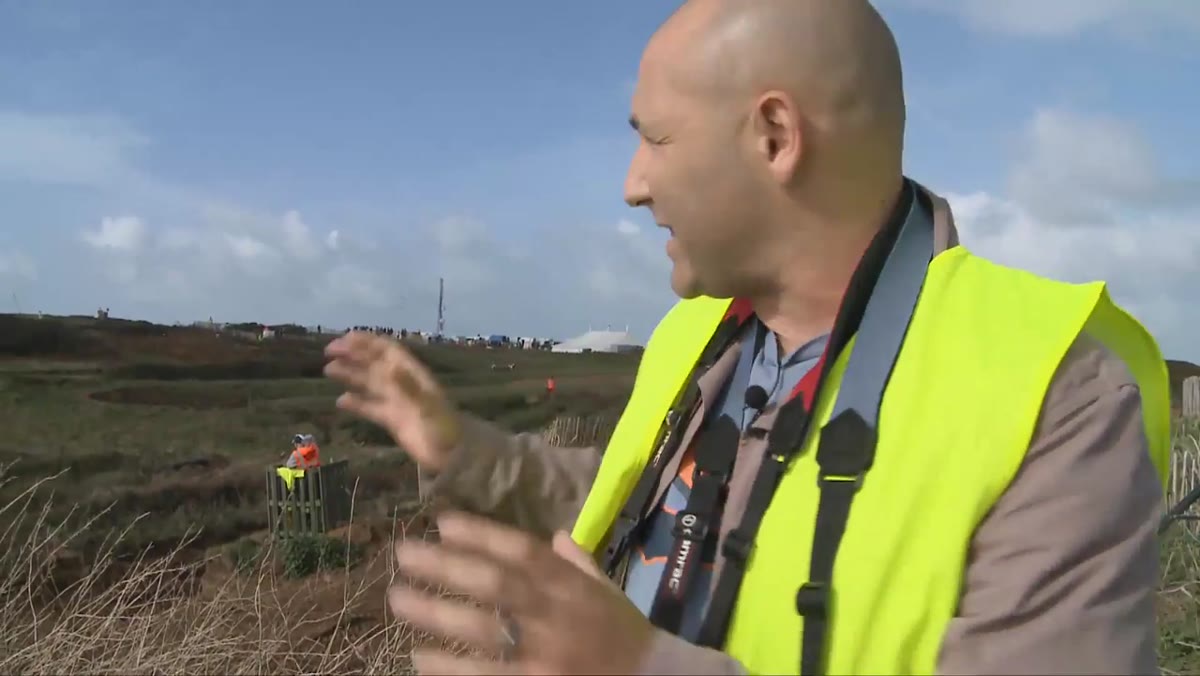 Photographer standing at a corner of a motocross track
Before you touch a camera setting, think about positioning. The instructor chooses a corner on the motocross track deliberately, not randomly. A corner is valuable because the subject’s path is predictable. You know where the bike is going to be, which means you can pre-focus, frame in advance, and time your shot with much more consistency than you’d get from a straight stretch where distance changes rapidly.
Photographer standing at a corner of a motocross track
Before you touch a camera setting, think about positioning. The instructor chooses a corner on the motocross track deliberately, not randomly. A corner is valuable because the subject’s path is predictable. You know where the bike is going to be, which means you can pre-focus, frame in advance, and time your shot with much more consistency than you’d get from a straight stretch where distance changes rapidly.
This applies whether you’re shooting motocross, youth soccer, or a street parade. Find the point where the action moves across your frame rather than toward or away from you. Lateral movement is far more manageable and gives panning shots their characteristic look.
Step 2: Set Up the Panning Technique with a Slow Shutter Speed
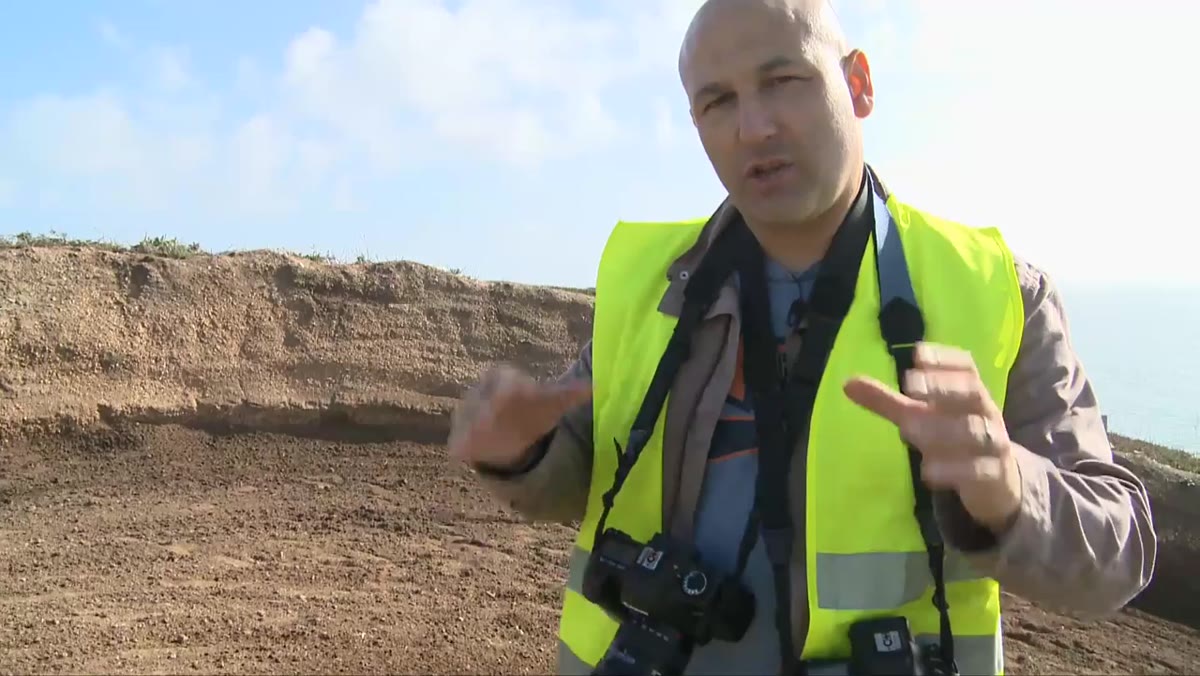 Camera display showing shutter speed setting around 1/30s
Panning is the technique of following a moving subject with your camera while using a slower shutter speed, somewhere around 1/30th to 1/40th of a second in this case. Because you’re physically tracking the subject as the shutter opens and closes, the subject stays relatively sharp while the background stretches into horizontal streaks. Those streaks are what communicate speed to the viewer.
Camera display showing shutter speed setting around 1/30s
Panning is the technique of following a moving subject with your camera while using a slower shutter speed, somewhere around 1/30th to 1/40th of a second in this case. Because you’re physically tracking the subject as the shutter opens and closes, the subject stays relatively sharp while the background stretches into horizontal streaks. Those streaks are what communicate speed to the viewer.
The key physical movement is smooth and continuous. You start tracking the subject before you press the shutter, maintain the rotation through the shot, and continue following after the shutter closes. Think of it like a golf swing follow-through. Stopping your motion the moment you hit the button is the most common mistake, and it introduces a jerk that ruins the synchronization.
Step 3: Dial In the Right Shutter Speed Through Testing
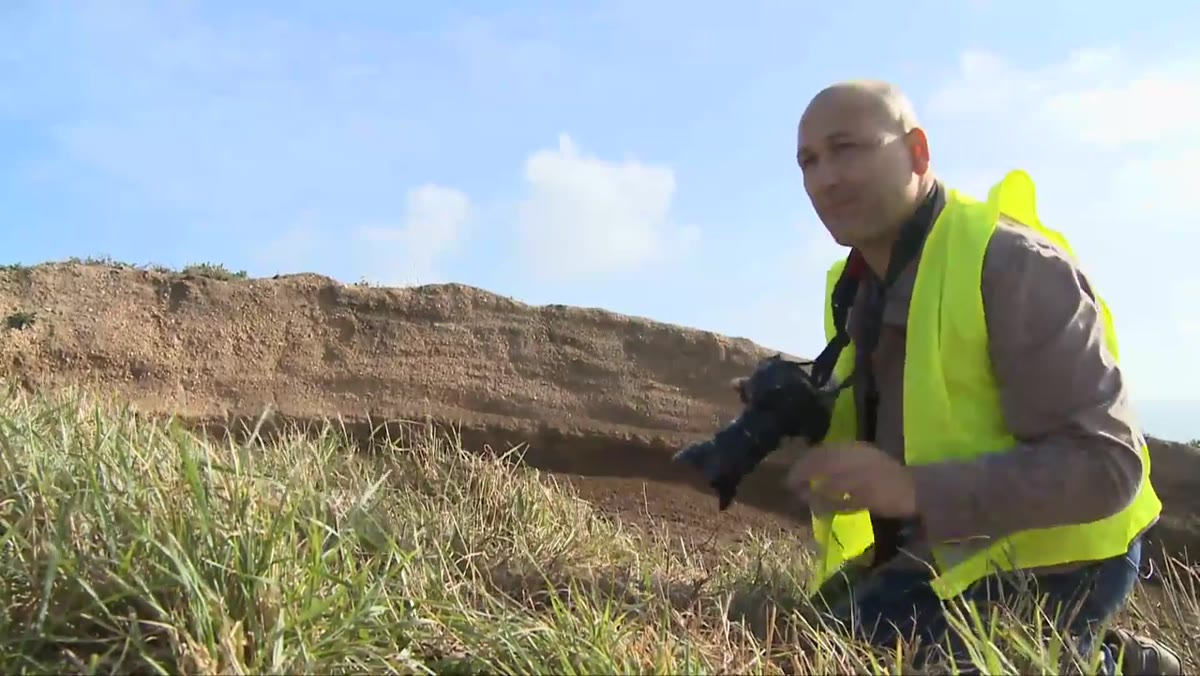 Reviewing shots on camera LCD between passes
There’s no single correct slow shutter speed for panning, and the instructor is honest about this. At 1/30th second, you’re balancing two risks: too slow and even your tracked subject goes soft, too fast and the background doesn’t blur enough to read as motion. The target shutter speed depends on how fast your subject is moving.
Reviewing shots on camera LCD between passes
There’s no single correct slow shutter speed for panning, and the instructor is honest about this. At 1/30th second, you’re balancing two risks: too slow and even your tracked subject goes soft, too fast and the background doesn’t blur enough to read as motion. The target shutter speed depends on how fast your subject is moving.
The practical approach shown here is to shoot a few test frames, check the results on your LCD, and adjust. For the motocross bikes at this event, 1/30th to 1/40th of a second hit the sweet spot. For a cyclist or a child running, you’d likely need to slow down even further to achieve the same background blur. For a formula car, you might get away with 1/100th. Test, evaluate, adjust.
Step 4: Switch to Shutter Priority Mode
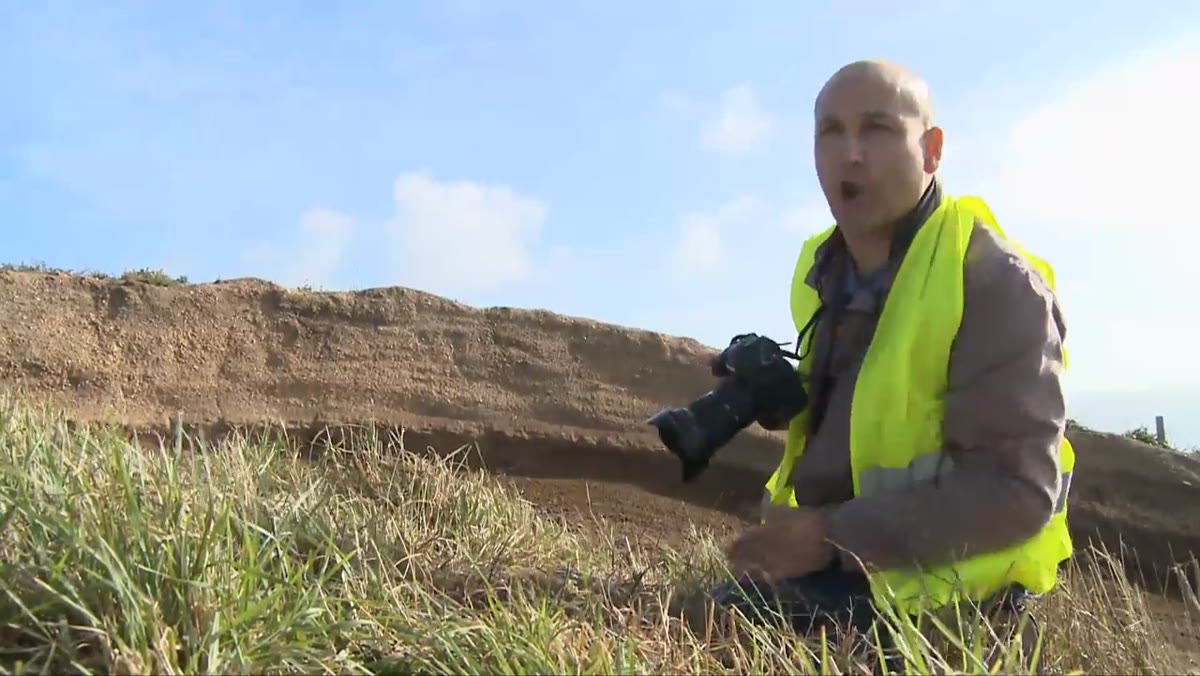 Camera mode dial being turned to shutter priority (Tv or S mode)
Rather than working in full manual, the instructor recommends shutter priority mode (marked as Tv on Canon cameras, S on Nikon and Sony). This lets you lock in the shutter speed you’ve determined through testing and allows the camera to automatically adjust aperture to maintain correct exposure. At 1/30th second, you’re letting in a significant amount of light, so the camera will select a small aperture to compensate.
Camera mode dial being turned to shutter priority (Tv or S mode)
Rather than working in full manual, the instructor recommends shutter priority mode (marked as Tv on Canon cameras, S on Nikon and Sony). This lets you lock in the shutter speed you’ve determined through testing and allows the camera to automatically adjust aperture to maintain correct exposure. At 1/30th second, you’re letting in a significant amount of light, so the camera will select a small aperture to compensate.
This is a smart workflow choice in fast-changing field conditions. You don’t want to be manually adjusting aperture between every pass while also tracking focus and timing your shots. Shutter priority keeps your one critical variable locked while the camera handles the rest. It’s the right tool for this situation.
Step 5: Monitor Exposure Compensation to Correct for Metering Errors
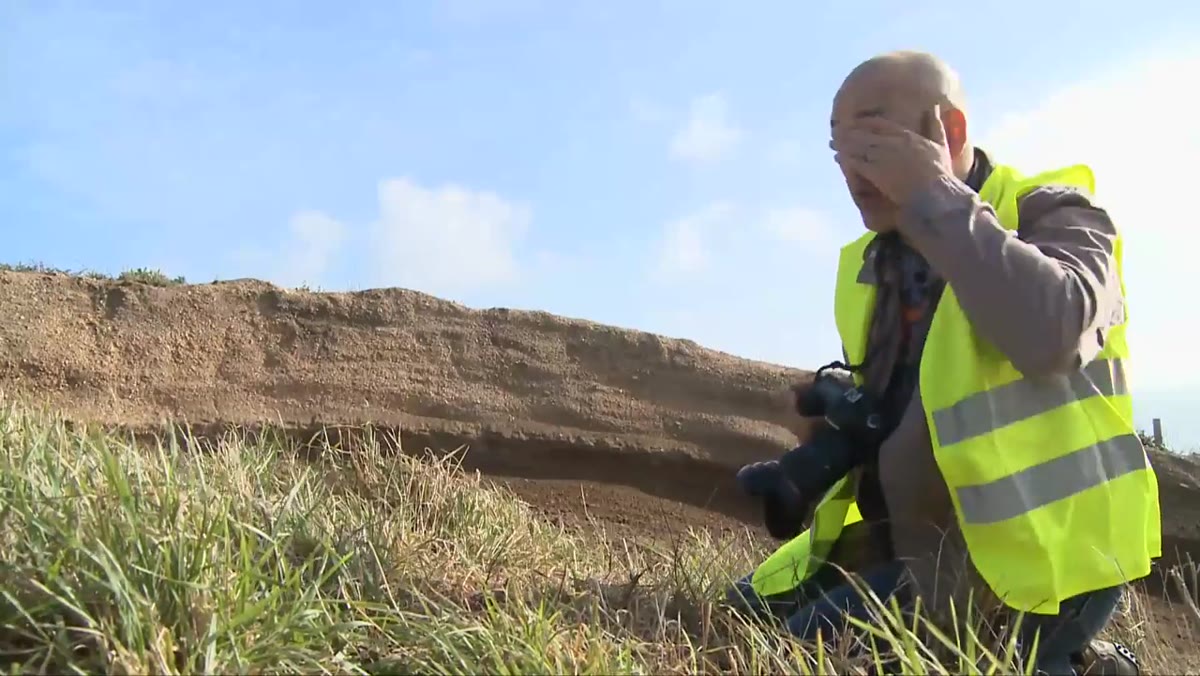 Photographer adjusting exposure compensation dial on camera body
Shutter priority isn’t fully automatic and doesn’t think for you. The instructor flags an important caveat: the camera’s light meter can be fooled, especially at a high-contrast location like a sunlit outdoor track with dark shadows and bright sky. If your images are coming out too dark or too bright, don’t switch modes. Instead, dial in exposure compensation.
Photographer adjusting exposure compensation dial on camera body
Shutter priority isn’t fully automatic and doesn’t think for you. The instructor flags an important caveat: the camera’s light meter can be fooled, especially at a high-contrast location like a sunlit outdoor track with dark shadows and bright sky. If your images are coming out too dark or too bright, don’t switch modes. Instead, dial in exposure compensation.
Exposure compensation is typically a dedicated button or dial that lets you tell the camera to expose one, two, or more stops brighter or darker than its meter suggests. If your images look muddy and underexposed, push compensation toward the plus side. Overly bright and blown out, go negative. This is a real-time adjustment that takes seconds and keeps your shutter speed exactly where you need it.
Step 6: Use a Telephoto Lens to Freeze Action at High Shutter Speeds
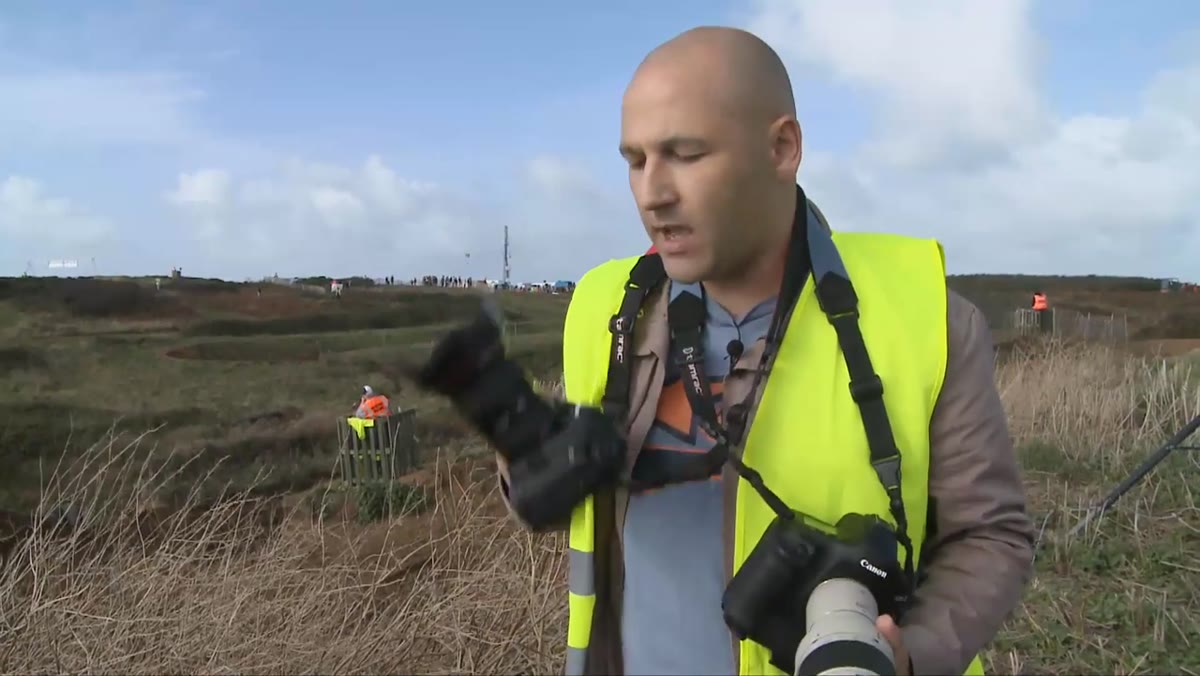 Second camera body with telephoto lens being picked up
The second technique covered is the more familiar one: using a fast shutter speed to freeze motion entirely. The instructor runs two camera bodies here, one with a wide angle for panning and one with a telephoto for freeze-frame shots. A telephoto lens compresses the scene and lets you fill the frame with a distant subject, which is essential at events where you can’t physically get close to the action.
Second camera body with telephoto lens being picked up
The second technique covered is the more familiar one: using a fast shutter speed to freeze motion entirely. The instructor runs two camera bodies here, one with a wide angle for panning and one with a telephoto for freeze-frame shots. A telephoto lens compresses the scene and lets you fill the frame with a distant subject, which is essential at events where you can’t physically get close to the action.
For freezing motion completely, you’re looking at shutter speeds of 1/500th of a second and above, depending on the subject’s speed. The higher you go, the more frozen the subject appears. The tradeoff is that a completely frozen shot can read as static, which is why having both techniques available gives you creative options rather than forcing one approach.
What I’d Add from My Own Experience
The dual-camera setup the instructor uses is a genuine field solution, not showing off. I’ve done similar things in commercial shoots where I need both tight detail and environmental context. Swapping lenses mid-shoot costs time and risks missing shots. If you have access to a second body, even a backup entry-level one, consider keeping a second focal length ready.
The bigger lesson here for my post-production world is this: the story you’re trying to tell should determine your technique before you lift the camera. A blurred background with a sharp subject tells the viewer “this thing is moving fast.” A completely frozen frame says “look at this precise moment.” Neither is universally correct. Deciding in advance which story you want saves you from defaulting to whatever your camera was set to last.
The single most important takeaway from this tutorial is that motion blur is a creative tool, not a failure. Controlled blur through panning is harder to pull off than simply freezing the action, it takes positioning, smooth tracking, and shutter speed judgment developed through testing. But when it works, it produces images with energy that a frozen shot simply cannot replicate.
Watch the full tutorial on YouTube to see both techniques demonstrated live, including the real-time adjustments between passes that no written breakdown can fully replace.
Comments (5)
Bookmarked. Coming back to this one for sure.
Printing this out and pinning it next to my monitor. That good.
Couldn't agree more. I've seen this make a huge difference in lighting work specifically.
My workflow just got 10x faster. Not even kidding.
Love how you break down complex stuff into manageable steps.
Leave a Comment