I built my first Photoshop action at 26, and I genuinely have not manually repeated a task since. That is not a brag. That is a philosophy. If I do something twice, I automate it. If I do it three times, I build a system around it. So when a tutorial crosses my desk that blends creative filmmaking instincts with deliberate, repeatable post-processing decisions, I pay attention.
This one caught me at the right moment. I had just finished a run of action-oriented e-commerce work. Think athletic apparel, product shots with motion blur, composite backgrounds meant to feel kinetic. The client wanted “cinematic.” Which is one of those words that sounds specific but means seventeen different things depending on who is saying it. What I needed was a concrete visual reference for how a skilled shooter actually constructs that look, from capture to final grade.
What Serge Ramelli Was Actually Solving
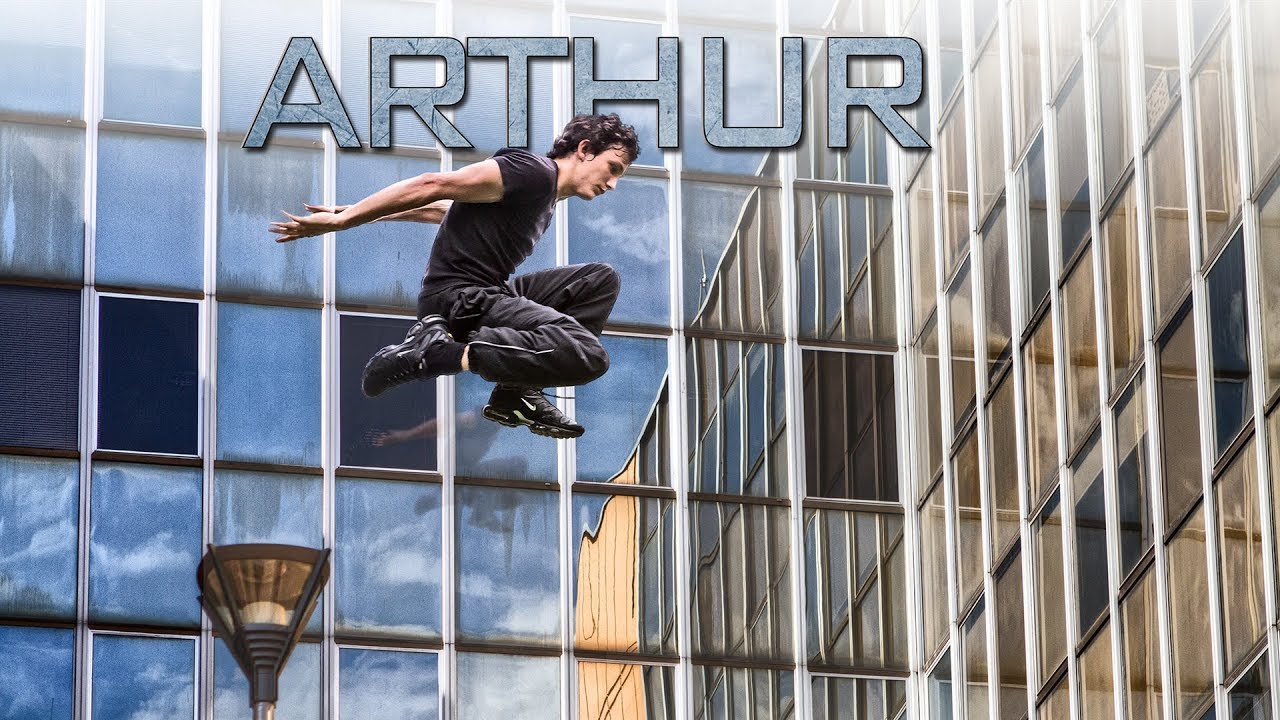
In this Serge Ramelli tutorial, he is not teaching Photoshop. He is teaching visual storytelling through a self-directed action short called “Arthur,” featuring a young kid doing parkour across urban environments. But the reason it belongs on a workflow-focused site like this one is the thinking underneath the footage. Ramelli shot the whole thing on a Canon 7D and a Canon 5D Mark II, two cameras most working photographers already know intimately. He was not reaching for exotic gear. He was making deliberate decisions with familiar tools and then shaping the result in post.
That matters. A lot of tutorials show you what buttons to push. Ramelli shows you why certain choices compound. The camera work, the edit pacing, the color treatment. Each one builds on the last.
The Camera Logic That Makes Post-Processing Easier
Ramelli’s shooting style here leans on a few consistent choices that pay dividends in the edit. He favors slightly underexposed frames on the action shots. Not crushed blacks, but pulled back enough that highlights stay controlled and the grade has room to breathe. If you blow out a sky on an action shot, no LUT or adjustment layer saves you. Protect the highlights, lift the shadows in post.
He also shoots with a fairly shallow depth of field on the Canon 5D Mark II sequences, which isolates the subject from the background architecture without needing any masking work downstream. This is the kind of decision that saves thirty minutes per sequence in a professional context. I keep a spreadsheet tracking hours saved by workflow decisions like this. The logic is identical whether you are shooting a short film or a catalog of athletic gear.
The 7D sequences, by contrast, carry a slightly tighter crop factor that Ramelli uses intentionally for closer action detail. Cutting between the two sensor sizes creates a subtle visual texture in the edit that keeps the pacing from feeling static.
Color Grading as a Narrative Tool, Not Just a Look
The grade on “Arthur” is cooler in the shadows and slightly desaturated in the midtones, with warmth reserved for skin tones and the brightest highlights. This is a deliberate split-tone approach. In Photoshop terms, you would build this through a combination of a Color Balance adjustment layer targeting Shadows and Highlights separately, a Hue/Saturation layer pulling global saturation down by roughly 15-20 points, and a selective color correction preserving the reds and yellows in skin.
Ramelli does not spell this out step by step in the video. What he does is let you see the result across enough varied lighting conditions that you can reverse-engineer the logic. Bright outdoor sequences, shadowed urban corridors, the handful of closer face shots. The grade holds across all of them, which tells you it was built as a consistent treatment rather than shot-by-shot corrections.
The consistency is the workflow lesson. A grade that requires individual attention on every clip is not a grade. It is a rescue operation.
Where I Would Do This Differently
The one place I push back on the approach, at least for commercial work, is the lack of a neutral reference frame in the edit. Ramelli is working in a creative short where mood authority is everything. He can commit to a look and hold it. In my world, an ad agency art director will ask me to pull the grade back by 40% two days before delivery because the brand team decided the look was “too dark for Q4.” If I have not built my grade on adjustment layers sitting above a neutral base, that revision costs me two hours instead of fifteen minutes.
My standard practice now is to do all my creative grading non-destructively in Photoshop using Smart Objects and grouped adjustment layers with clearly labeled layer comps for each approved variant. The look Ramelli achieves here translates cleanly into that structure. It just takes an extra ten minutes on the front end to set it up right.
The Real Takeaway from This Short
The most transferable lesson in “Arthur” is not a specific setting or tool. It is that post-processing decisions begin at the shoot. The grade Ramelli lands is clean and fast precisely because the capture gave it room to work. Protect your highlights, control your depth of field deliberately, and shoot with a consistent color temperature. The edit becomes execution rather than recovery.
Watch the full video for the visual pacing and the actual cut of the short. Seeing how the action sequences are ordered gives you a much clearer feel for the rhythm Ramelli is chasing than any written description can.
Comments (1)
Clear and practical. No fluff. Appreciate that.
Leave a Comment