
I spend most of my working hours in Photoshop, but my background is in commercial photography studios, and I still shoot regularly. One thing I’ve noticed over the years is that the sharpness battle is mostly won or lost before you ever open a raw file. No amount of Smart Sharpen or Unsharp Mask rescues a frame that was soft at capture. So when I came across this Matt Kloskowski tutorial on getting sharper action and wildlife shots, I watched it twice. Not because the concepts are exotic, but because Kloskowski puts his finger on something genuinely useful: most photographers are leaving performance on the table from features already built into their gear.
Watch the full tutorial on YouTube
The tips here are not about technique in the traditional sense. They are not about tripods, mirror lockup, or hand-holding posture. They are about understanding the modes and settings inside your camera and telephoto lenses that were specifically engineered for moving subjects. If you shoot birds, motorsports, dogs at the park, or anything that does not hold still, this applies to you.
Step 1: Turn On Image Stabilization (and Confirm It Is Actually On)
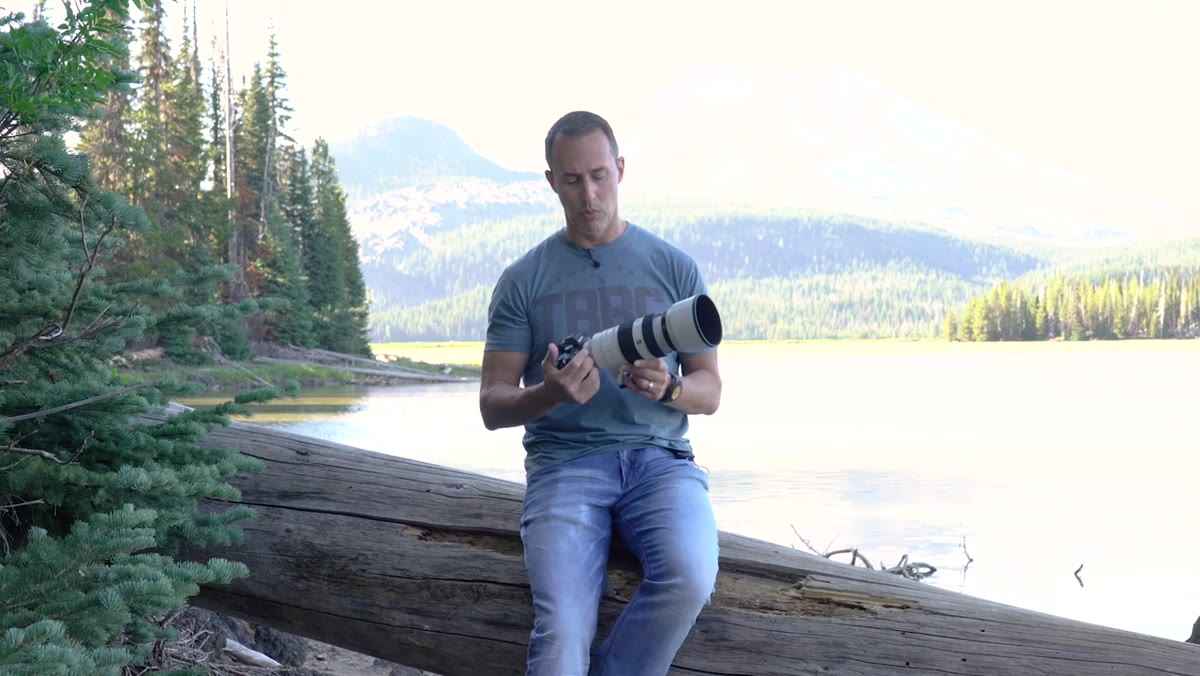
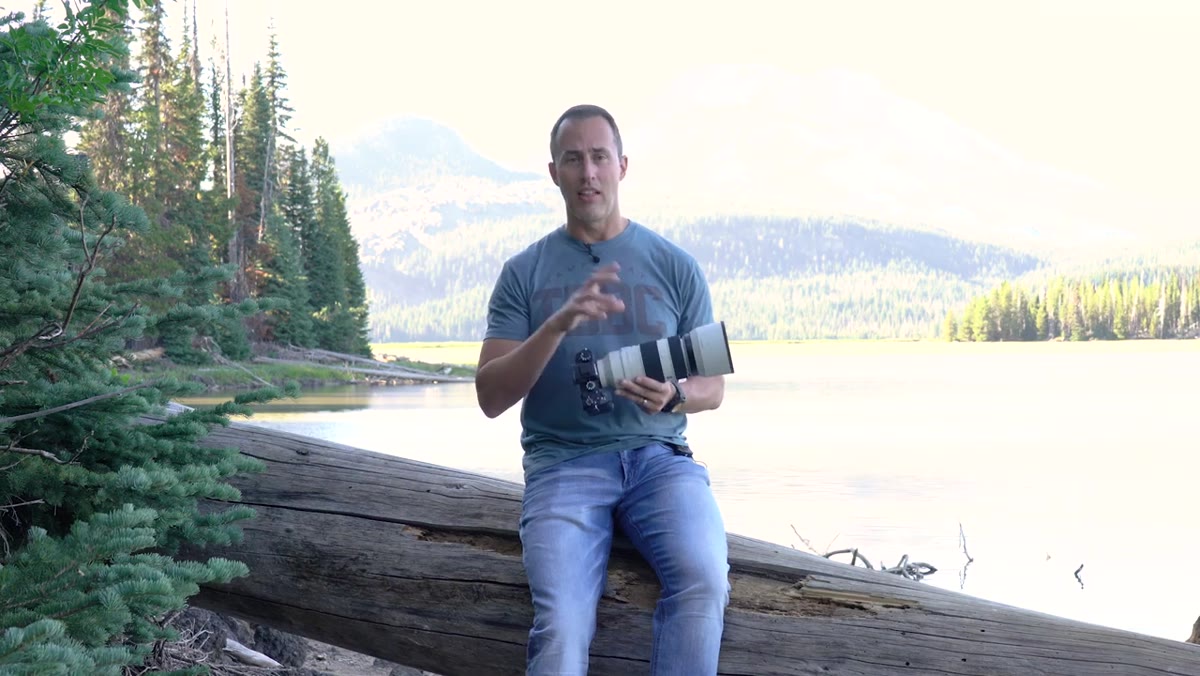 Telephoto lens with stabilization switch visible on barrel
This sounds too basic to mention, but Kloskowski’s point is worth taking seriously. Stabilization on telephoto lenses goes by different names depending on the manufacturer: Image Stabilization on Canon, Vibration Reduction on Nikon, Optical SteadyShot on Sony. The mechanism is the same in each case: small gyroscopes inside the lens detect and counteract camera shake in real time. The feature exists primarily for handheld shooting, and if you are not using a tripod, it should almost always be active.
Telephoto lens with stabilization switch visible on barrel
This sounds too basic to mention, but Kloskowski’s point is worth taking seriously. Stabilization on telephoto lenses goes by different names depending on the manufacturer: Image Stabilization on Canon, Vibration Reduction on Nikon, Optical SteadyShot on Sony. The mechanism is the same in each case: small gyroscopes inside the lens detect and counteract camera shake in real time. The feature exists primarily for handheld shooting, and if you are not using a tripod, it should almost always be active.
The mistake is not leaving it off entirely. The mistake is never checking whether it is set to the right mode for what you are actually shooting.
Step 2: Understand Normal Mode vs. Active Mode
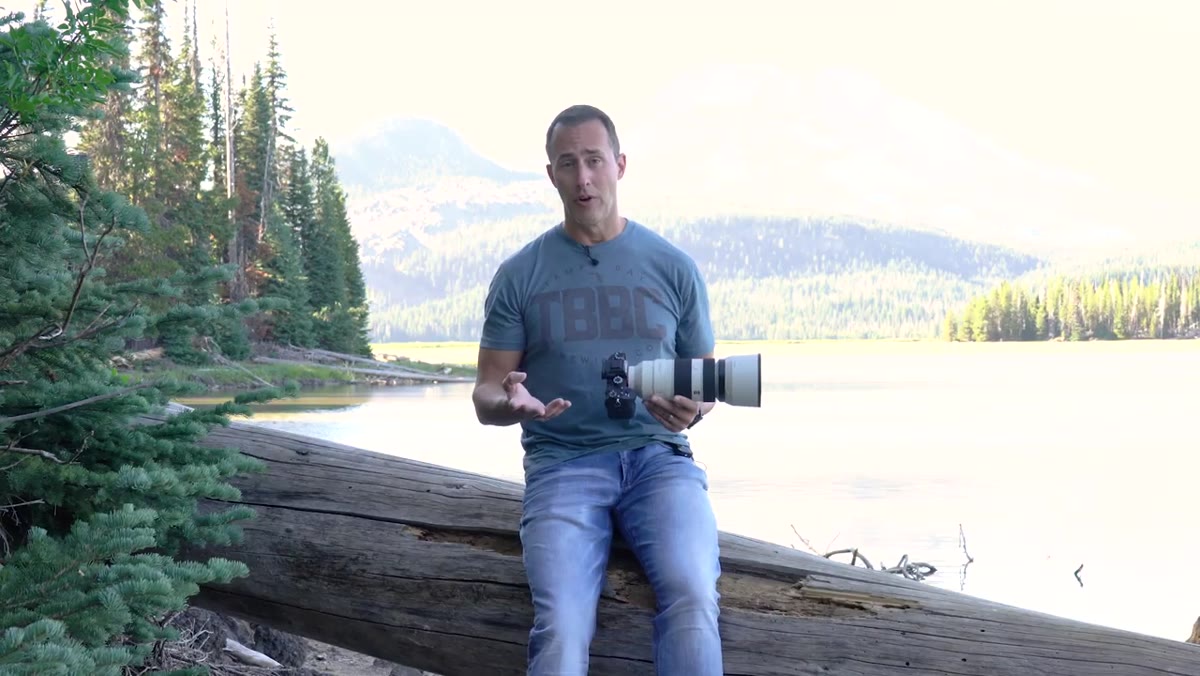 Lens barrel showing Normal and Active mode switch positions
Many telephoto lenses offer at least two stabilization modes. Normal mode is your default for general handheld shooting. It compensates for the small, random vibrations that come from breathing, heartbeat, and minor hand movement. Active mode is designed for situations where the camera itself is on a moving platform, such as a boat, a vehicle, or a helicopter. Active mode compensates for larger, more sustained movement.
Lens barrel showing Normal and Active mode switch positions
Many telephoto lenses offer at least two stabilization modes. Normal mode is your default for general handheld shooting. It compensates for the small, random vibrations that come from breathing, heartbeat, and minor hand movement. Active mode is designed for situations where the camera itself is on a moving platform, such as a boat, a vehicle, or a helicopter. Active mode compensates for larger, more sustained movement.
For most wildlife and action shooting on foot, Normal is the correct choice. Active mode can actually overcompensate when you are standing still, which introduces its own problems. Know the difference so you are not accidentally fighting your own stabilization system.
Step 3: Use Mode 2 for Panning Shots
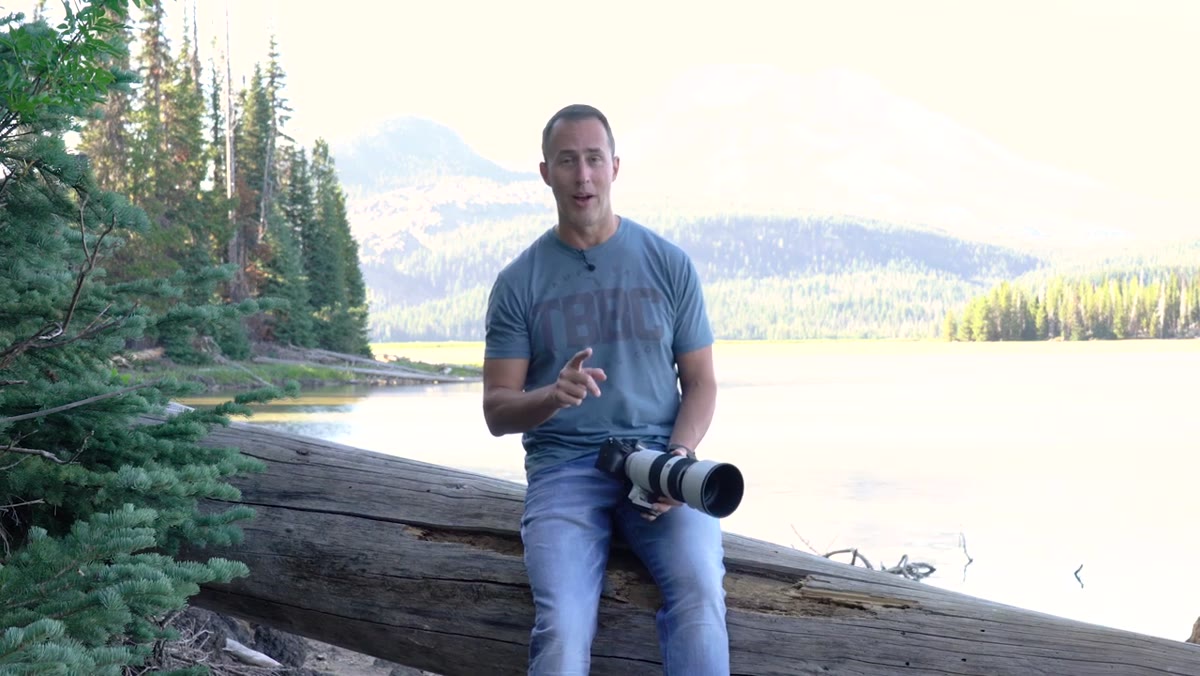 Lens mode selector showing Mode 1 and Mode 2 options
This is where things get interesting for action photographers specifically. Many telephoto lenses, particularly in the mid-to-upper price range, include a Mode 2 setting dedicated to panning. Panning is the technique where you track a moving subject horizontally, keeping the subject sharp while the background blurs. A bird crossing a lake, a cyclist, a race car through a corner. The movement is intentional and directional.
Lens mode selector showing Mode 1 and Mode 2 options
This is where things get interesting for action photographers specifically. Many telephoto lenses, particularly in the mid-to-upper price range, include a Mode 2 setting dedicated to panning. Panning is the technique where you track a moving subject horizontally, keeping the subject sharp while the background blurs. A bird crossing a lake, a cyclist, a race car through a corner. The movement is intentional and directional.
The problem with leaving standard stabilization on during a panning shot is that the system interprets your deliberate horizontal movement as unwanted shake and tries to correct it. Mode 2 disables stabilization on the horizontal axis while keeping it active on the vertical axis. You keep the smoothness in the direction you are moving, and the system still catches any vertical drift. Switching to Mode 2 before a panning shot is a small habit that produces noticeably cleaner results.
Step 4: Use Mode 3 for Erratic, Unpredictable Movement
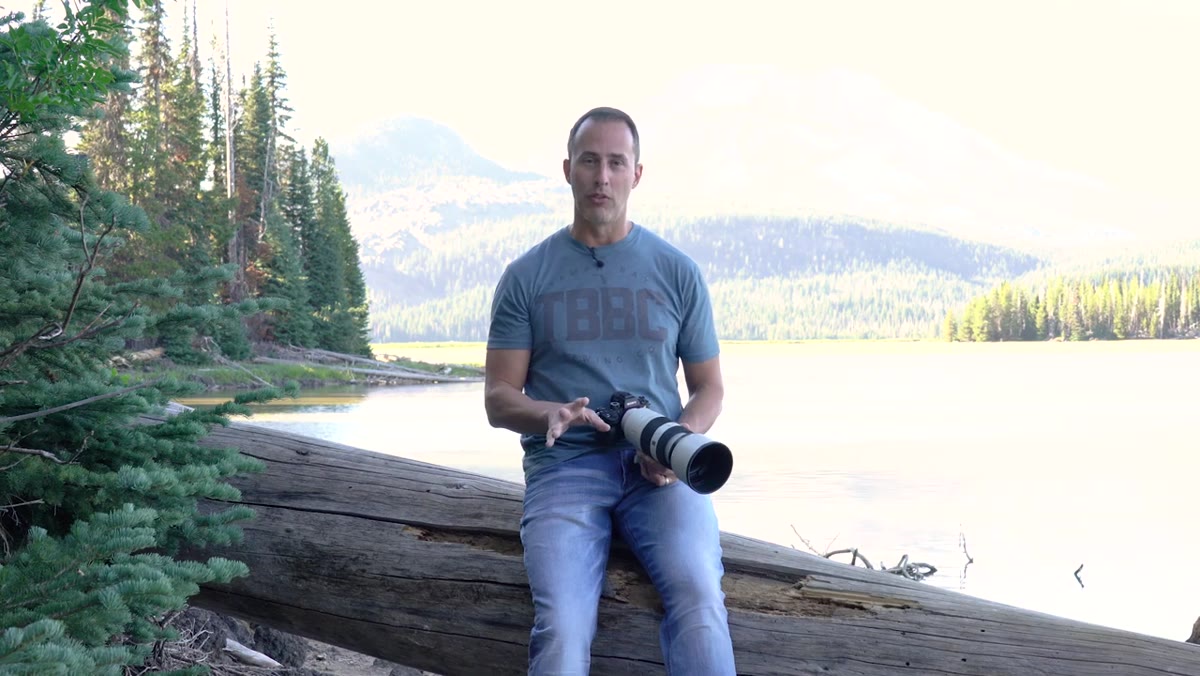 Mode 3 label on lens with birds in flight visible in background
Some of the more capable telephoto lenses include a third mode, and it is the one most photographers have never read about. Mode 3 is designed for completely unpredictable subject movement. Think of a flock of birds changing direction mid-air, or a dog sprinting in an irregular path. When you genuinely have no idea where the subject is going next, Mode 3 tells the stabilization system to do its best with whatever input it gets, rather than trying to predict or pattern-match the movement.
Mode 3 label on lens with birds in flight visible in background
Some of the more capable telephoto lenses include a third mode, and it is the one most photographers have never read about. Mode 3 is designed for completely unpredictable subject movement. Think of a flock of birds changing direction mid-air, or a dog sprinting in an irregular path. When you genuinely have no idea where the subject is going next, Mode 3 tells the stabilization system to do its best with whatever input it gets, rather than trying to predict or pattern-match the movement.
It is not magic, and Kloskowski is honest about that. But it is a better tool for chaotic situations than either Mode 1 or Mode 2, which are both tuned for more predictable scenarios. If your lens has it, it is worth knowing when to reach for it.
Step 5: Enable Auto ISO for Aperture Priority Shooting
 Camera menu showing Auto ISO settings enabled in aperture priority mode
Kloskowski calls this the single most impactful change he has made to his action photography workflow, and after thinking about it, I agree with him. Here is the core problem: when you shoot in Aperture Priority, you set the aperture and the camera selects the shutter speed. In changing light, that shutter speed can drop low enough to introduce motion blur, even with stabilization active. A bird in flat afternoon light might look fine. The same bird as a cloud passes overhead might come out soft because the camera chose 1/200s instead of 1/800s.
Camera menu showing Auto ISO settings enabled in aperture priority mode
Kloskowski calls this the single most impactful change he has made to his action photography workflow, and after thinking about it, I agree with him. Here is the core problem: when you shoot in Aperture Priority, you set the aperture and the camera selects the shutter speed. In changing light, that shutter speed can drop low enough to introduce motion blur, even with stabilization active. A bird in flat afternoon light might look fine. The same bird as a cloud passes overhead might come out soft because the camera chose 1/200s instead of 1/800s.
Auto ISO solves this by adding a third variable that the camera manages automatically. You set your aperture, you set a minimum shutter speed (say, 1/1000s for birds in flight), and you set a maximum ISO you are comfortable with. The camera then raises the ISO as needed to maintain that minimum shutter speed. You might end up with a slightly noisier image, but noise is recoverable. Motion blur is not. For anyone shooting fast-moving subjects in variable light, this is not a nice-to-have. It is the setting that determines whether you come home with keepers.
A Note From My End of the Workflow
I do not shoot wildlife as a primary discipline, but I have done enough automotive and sports work to know that the best Photoshop workflow starts with the best possible raw file. Every hour I spend in post on a blurry image is wasted time, and I track my time carefully. The in-camera settings Kloskowski covers here are essentially free sharpness. They cost nothing, they take thirty seconds to configure, and they directly reduce the number of frames that need to be culled or over-sharpened in post.
If you are building batch actions or presets for high-volume action photography, the quality of your source files determines how far those presets can stretch. A tack-sharp image processed with a good action looks excellent. A soft image processed with the same action looks like a soft image with better color.
The single most actionable thing from this tutorial is the Auto ISO setup. If you shoot moving subjects in Aperture Priority and you are not using a minimum shutter speed floor, you are letting the camera make a decision it is not equipped to make correctly. Set the floor, set your ISO ceiling, and let the system work the way it was designed to work.
Watch the full tutorial on YouTube and pay particular attention to how Kloskowski walks through the Auto ISO menu setup on an actual camera body. Seeing the menu navigation in context makes the configuration much easier to replicate on your own gear.
Comments (5)
Applied this to my portfolio shots and the improvement is noticeable.
Solid advice. Especially the part about taking your time with it.
Love this. I referenced a similar technique in one of my recent posts. Always good to see other perspectives.
This is exactly what I needed today. Been struggling with this for weeks.
Love this. I referenced a similar technique in one of my recent posts. Always good to see other perspectives.
Leave a Comment